
In the wild, a shelter is more than just a roof over your head—it’s your lifeline.
Whether bracing against the cold night air or finding shade from the scorching sun, knowing how to construct a survival shelter could mean the difference between life and death.
Table of Contents
Selecting the Right Location for Your Survival Shelter

Considerations for Shelter Placement
When it comes to selecting the right location for your survival shelter, several factors need to be taken into account.
First and foremost, prioritize safety.
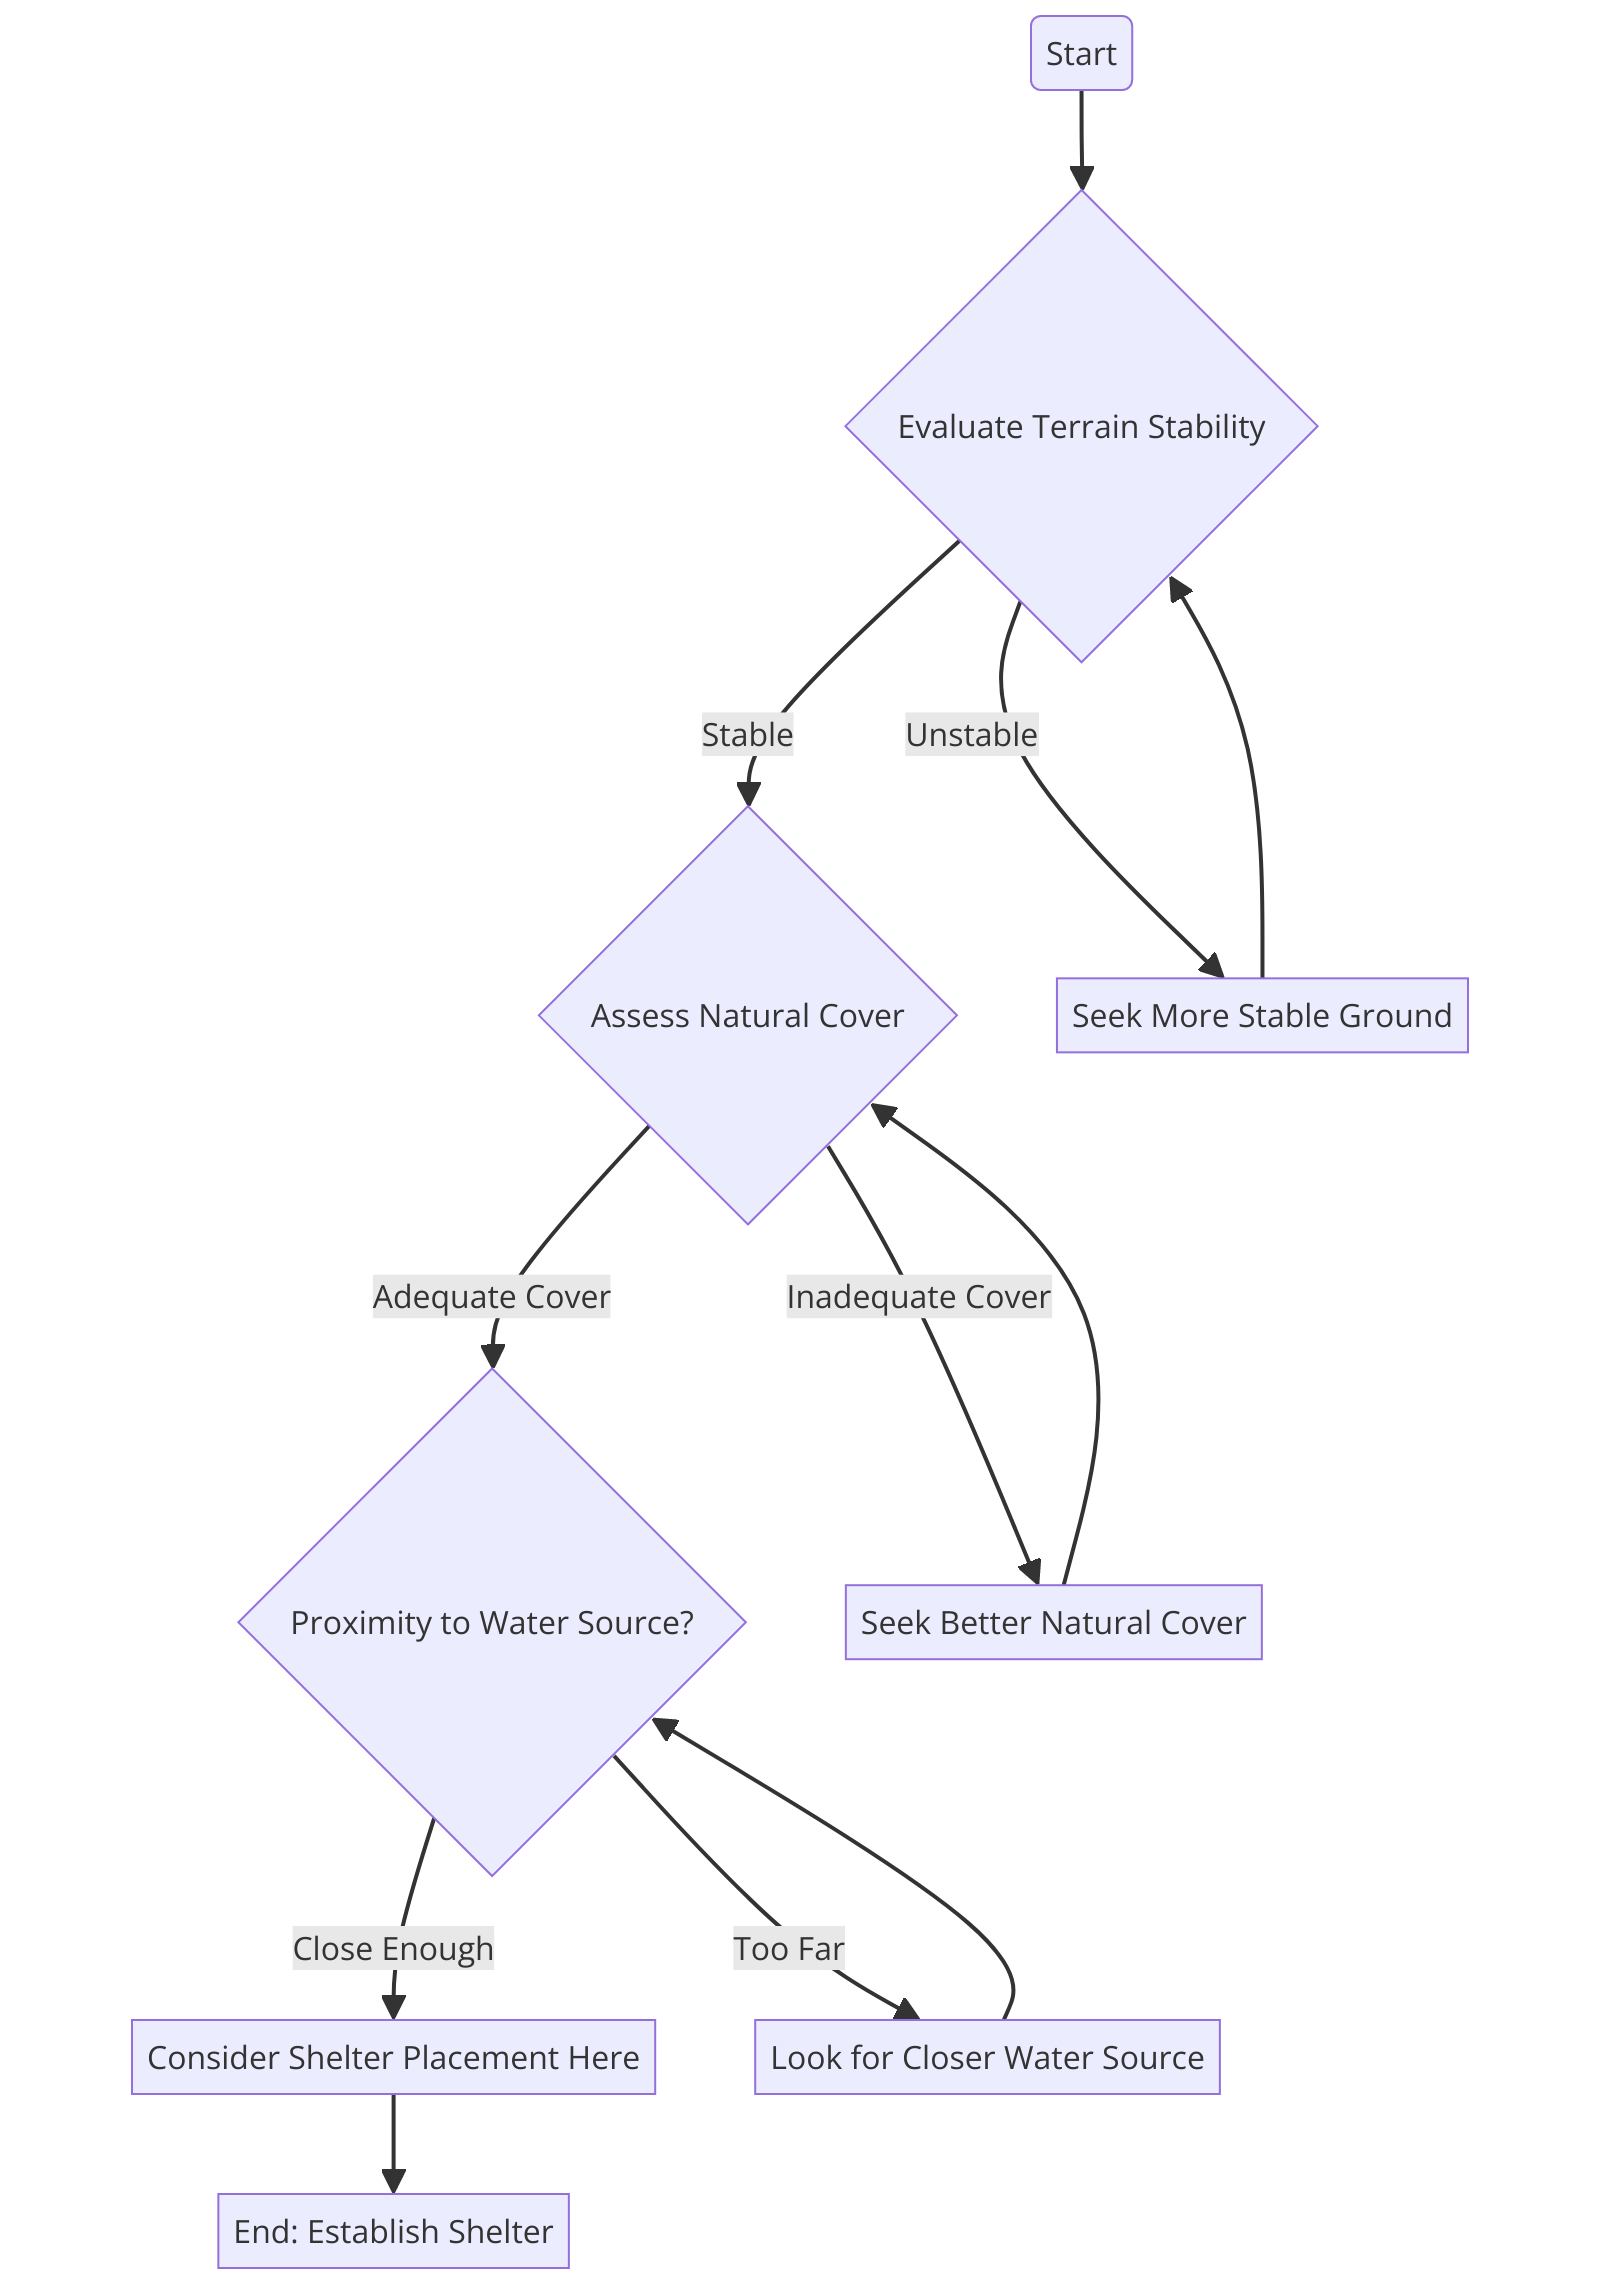
Look for a spot that is away from potential hazards like unstable terrain, steep slopes, or dead trees.
Find an area with ample natural cover, such as a dense forest or thick vegetation, to provide protection from wind, rain, and sunlight.
Shelter Types and Construction
Once you have identified a suitable location, you can determine the type of shelter to build.
A tarp shelter can be a quick and effective option, particularly in emergency situations.
It is essential to know how to build and secure a tarp shelter properly.
Alternatively, a lean-to shelter constructed using a fallen tree as a support beam can provide immediate cover.
“A shelter’s strength lies in its construction. Even the most basic designs can offer profound protection when built correctly,”
by Lara Gibson, Expert Bushcrafter
Building a Tarp Shelter: A Quick and Effective Protection

Choosing the Right Tarp
When it comes to building a tarp shelter, selecting the right type of tarp is crucial.
Look for a lightweight and waterproof tarp that won’t take up much space in your survival kit.
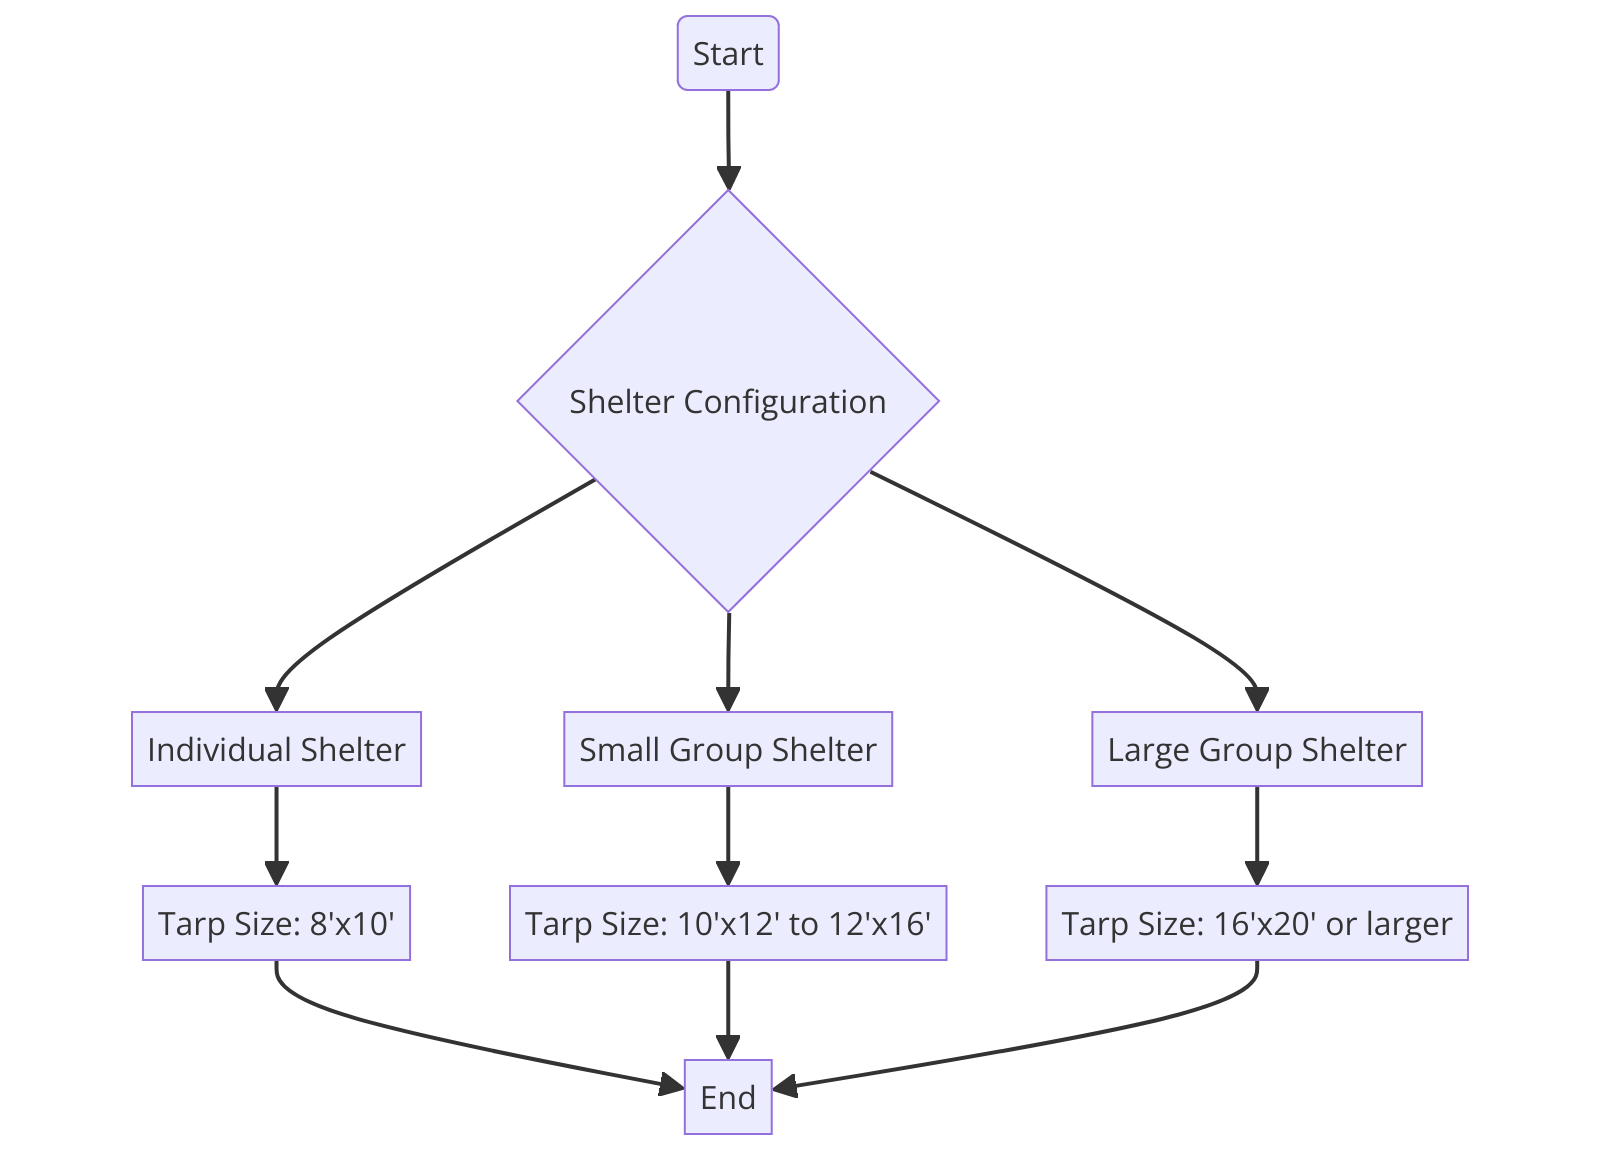
Ensure that it is large enough to cover your body and gear when erecting the shelter.
A good shelter starts with the right materials, so don’t skimp on this important survival skill.
| Tarp Material | Description | Suitability for Environmental Conditions |
|---|---|---|
| Polyethylene | Lightweight, waterproof plastic material. | General-purpose use in mild to moderate weather. UV-resistant but degrades over time. |
| Canvas | Heavy-duty fabric, resistant to abrasion. | Water-resistant when treated, suitable for temperate climates. May absorb water. |
| Silnylon | Lightweight, durable fabric coated with silicone. | Excellent waterproofing and UV resistance, ideal for wet environments. Resistant to stretching. |
| Ripstop Nylon | Reinforced nylon fabric to prevent tears. | Lightweight, tear-resistant, good waterproofing. Not as durable as canvas in extreme conditions. |
| PVC | Heavy-duty PVC material with superior waterproofing. | Resistant to UV and abrasion, suitable for harsh conditions. Bulkier and heavier. |
Erecting the Shelter
Once you have found the perfect location, it’s time to make the shelter.
Start by attaching one end of the tarp to the first tree and pulling it tight.
Secure it in place using paracord or sturdy rope.
Then, repeat the process with the other end of the tarp, ensuring that the shelter is taut and the sides are straight.

You can create additional stability by using branches or sticks as support beams along the sides.
If you anticipate harsh weather conditions, consider reinforcing the structure with extra tie-downs or stakes.
Constructing a Lean-to Shelter for Immediate Cover
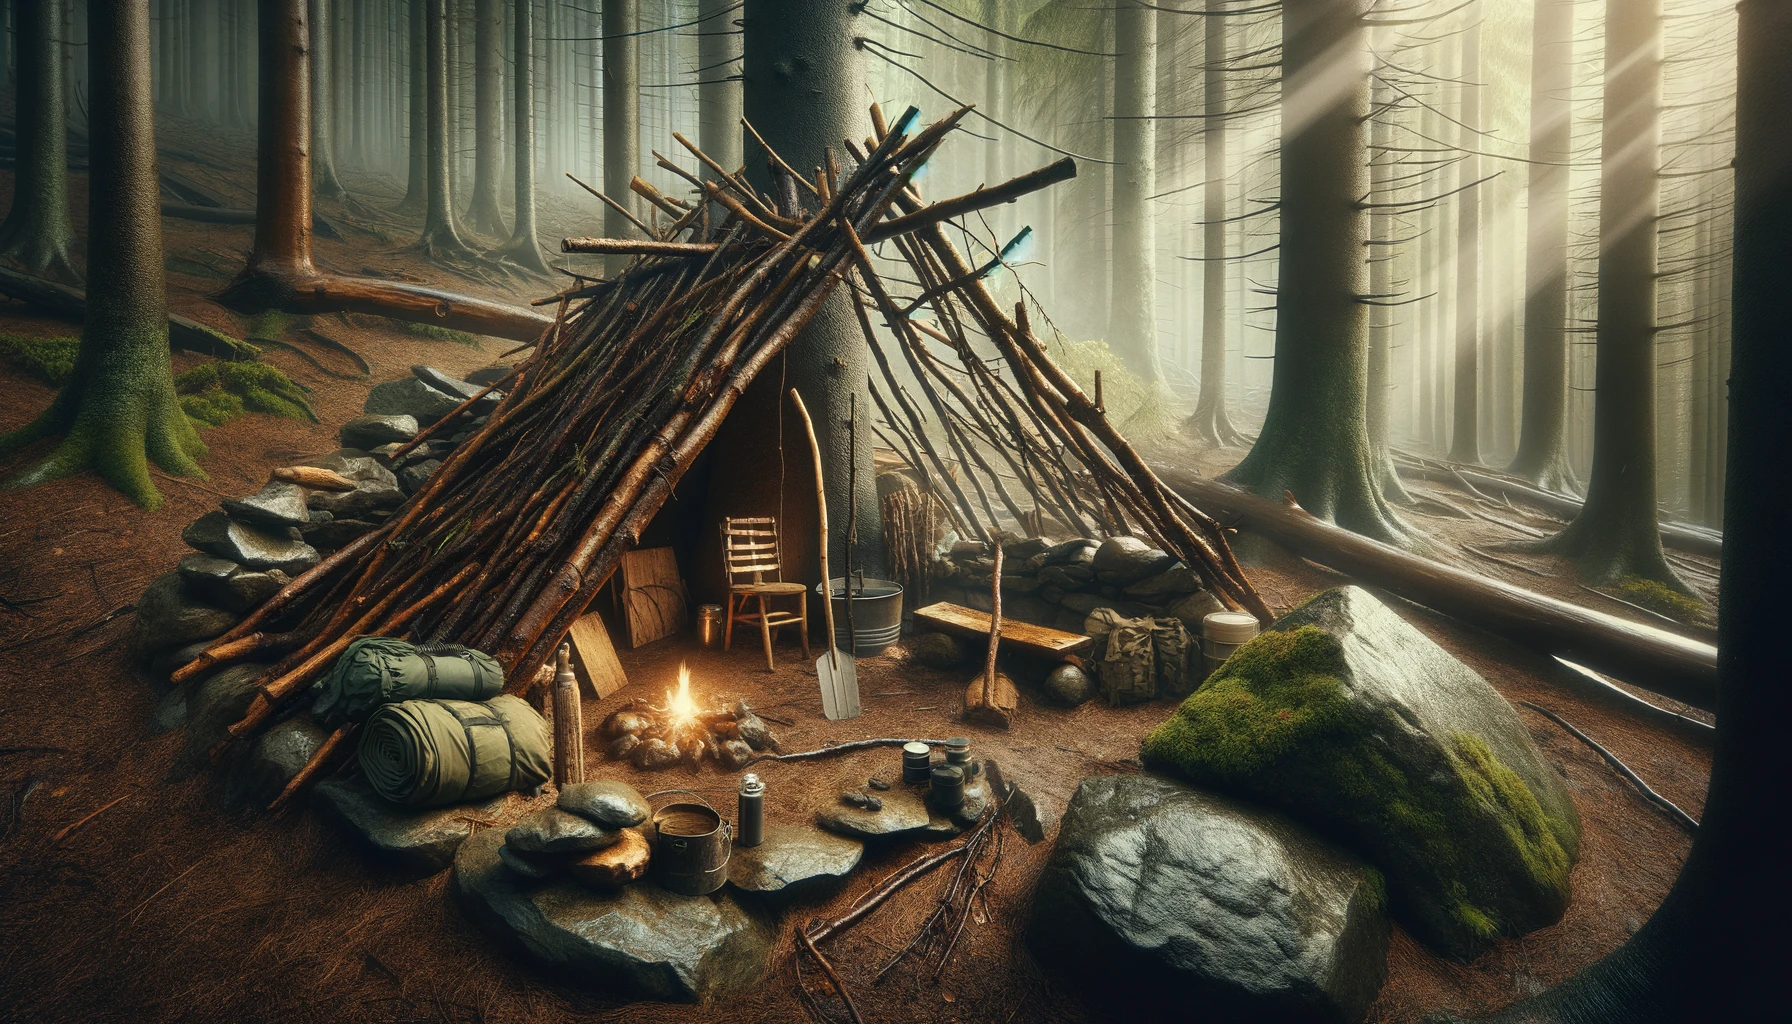
Simple and Efficient
To make this shelter, you will need a tarp or a large piece of fabric, sturdy branches, and paracord or ropes.
Start by securing one end of the tarp to a sturdy tree or using a pole as support.
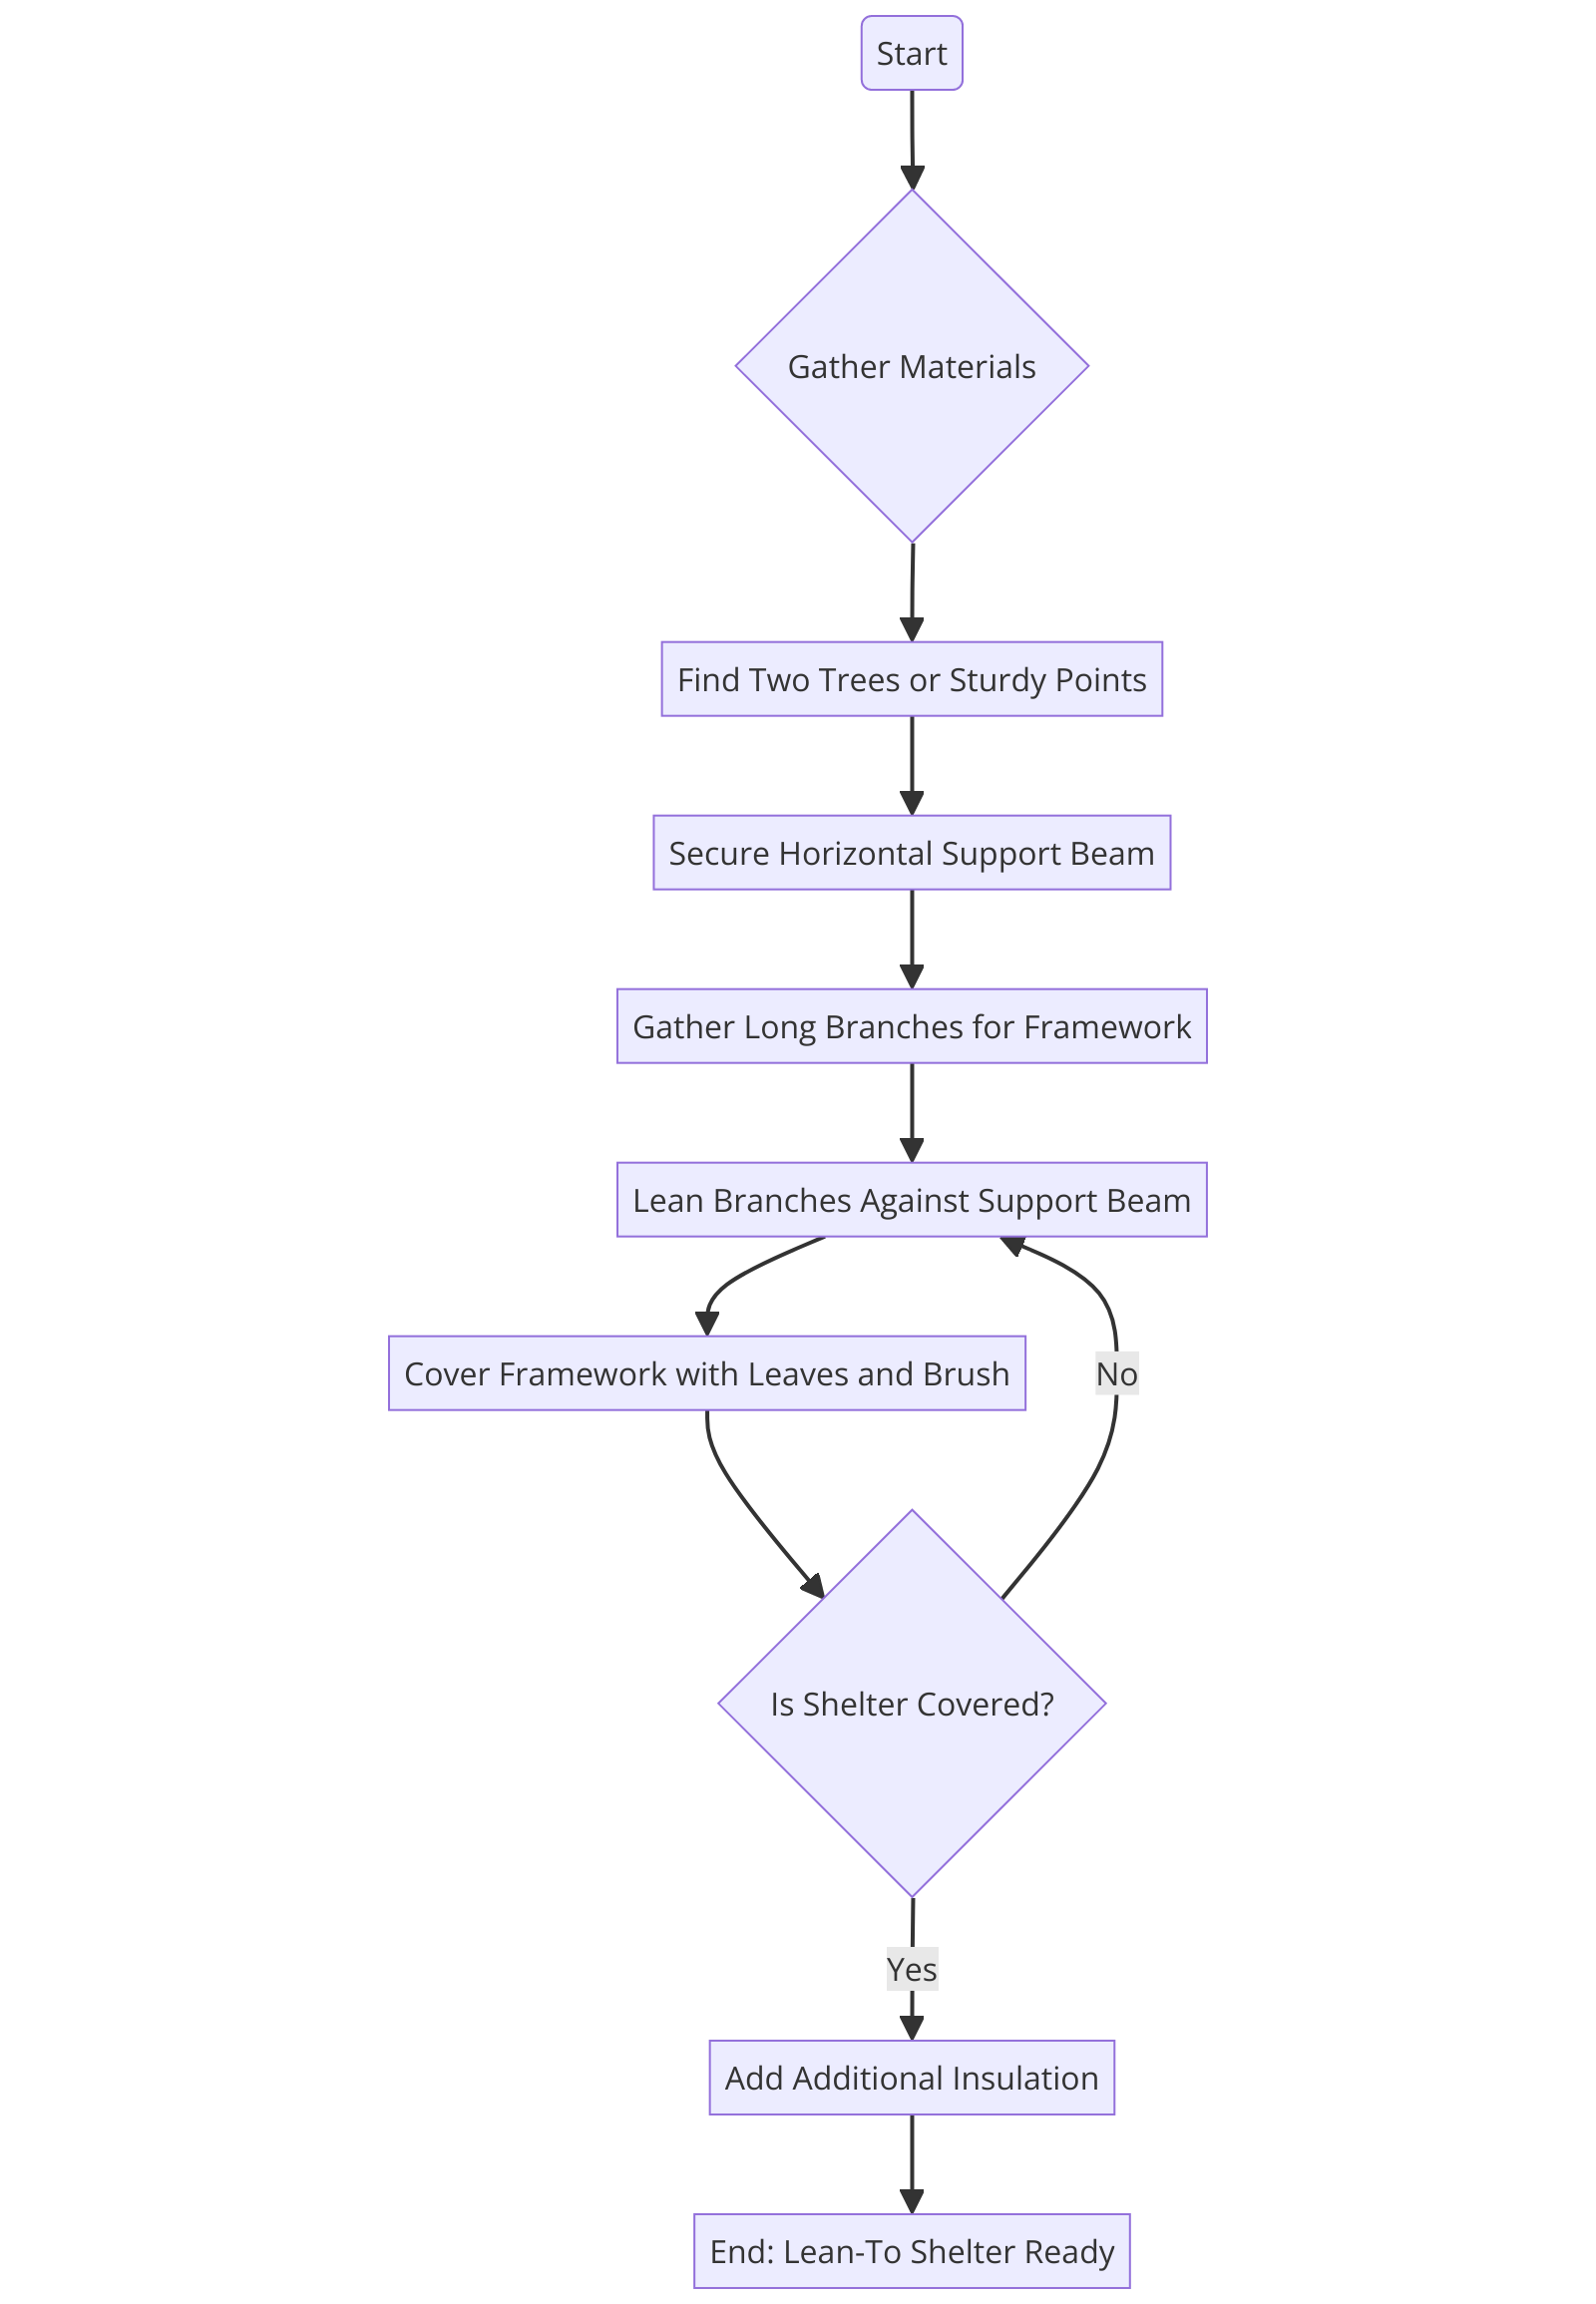
Then, build the shelter by extending the tarp at a 45-degree angle from the tree or pole, making sure it is about 3 feet above the ground.
Secure the other end of the tarp to the ground using rocks, logs, or stakes.
This simple shelter can provide immediate cover from rain, wind, or harsh weather conditions.
| Material | Description | Efficient Use |
|---|---|---|
| Branches | Long, sturdy branches for structural framework | Use as main support beams and rafters, interlace for stability |
| Tarps or Tarpaulins | Waterproof material for shelter cover | Stretch tightly over branch framework, secure with ropes or cords |
| Leaves or Brush | Natural insulation and weatherproofing | Layer over tarp or directly on lean-to structure for added protection |
| Rocks or Logs | Anchoring and stability | Use as anchors for securing tarp, or as additional support for wind protection |
| Paracord or Rope | Secure fastening of materials | Use to tie branches together and to secure tarp to the framework |
| Survival Blankets | Reflective material for heat retention | Line the interior of the lean-to to enhance warmth and insulation |
Staying Dry
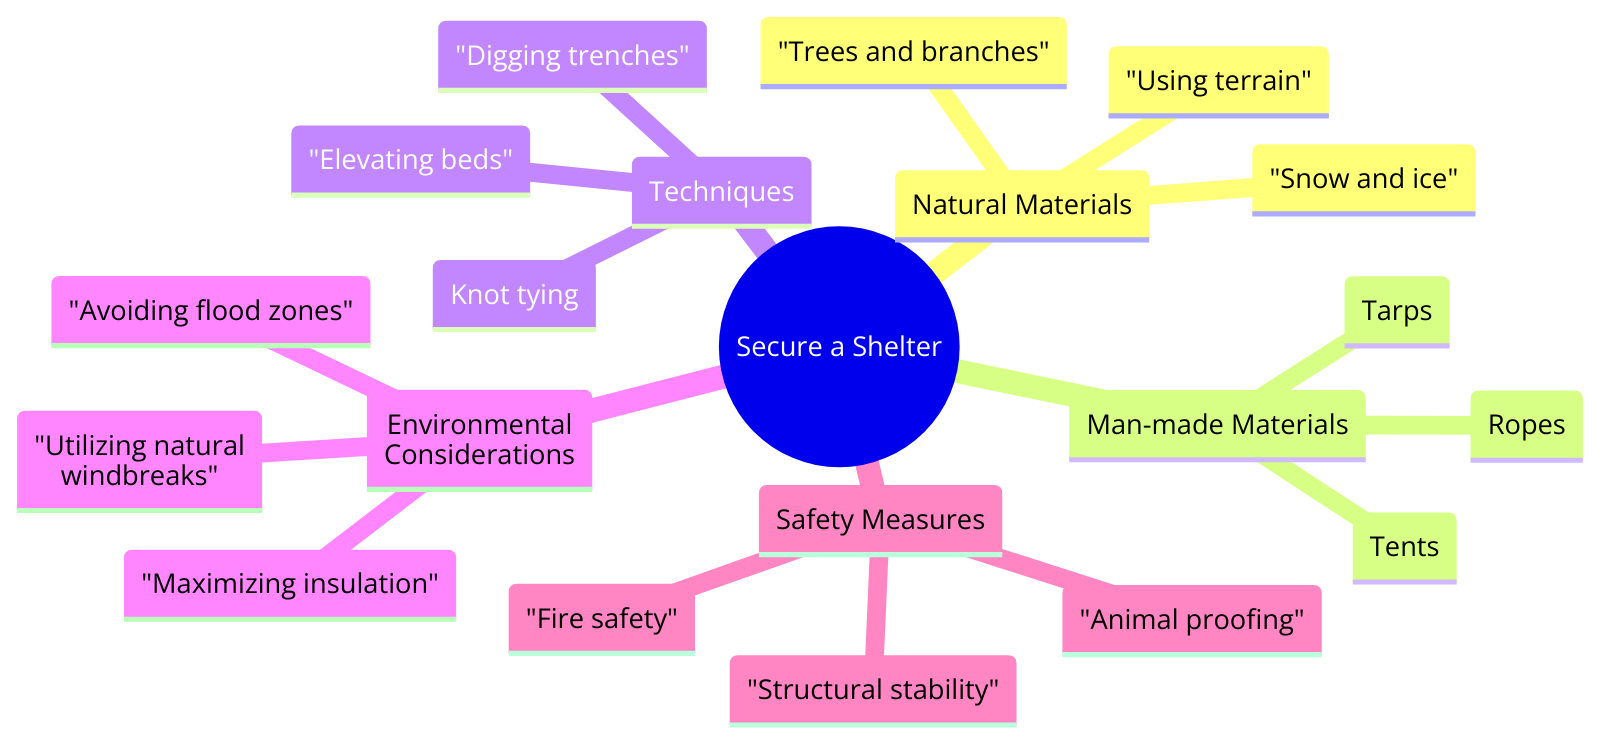
If you don’t want to build a shelter without a tarp, you can also utilize natural resources.

Find a fallen tree or large branches to create a sturdy A-frame structure.
Cover the frame with leaves, bark, or any available debris to insulate and provide protection.
Mastering the A-Frame: A Classic Survival Shelter

Understanding the Importance of Shelter Design
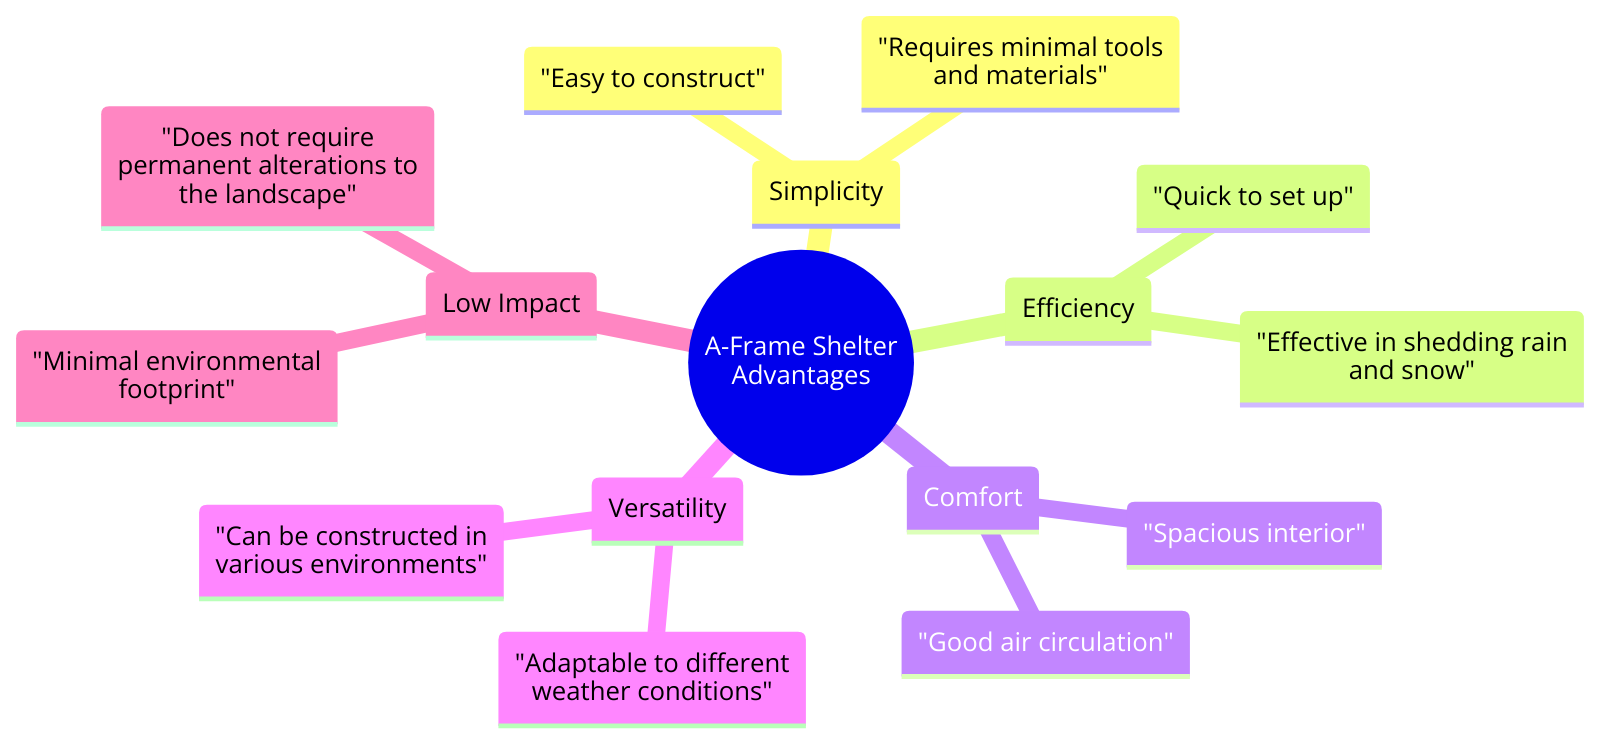
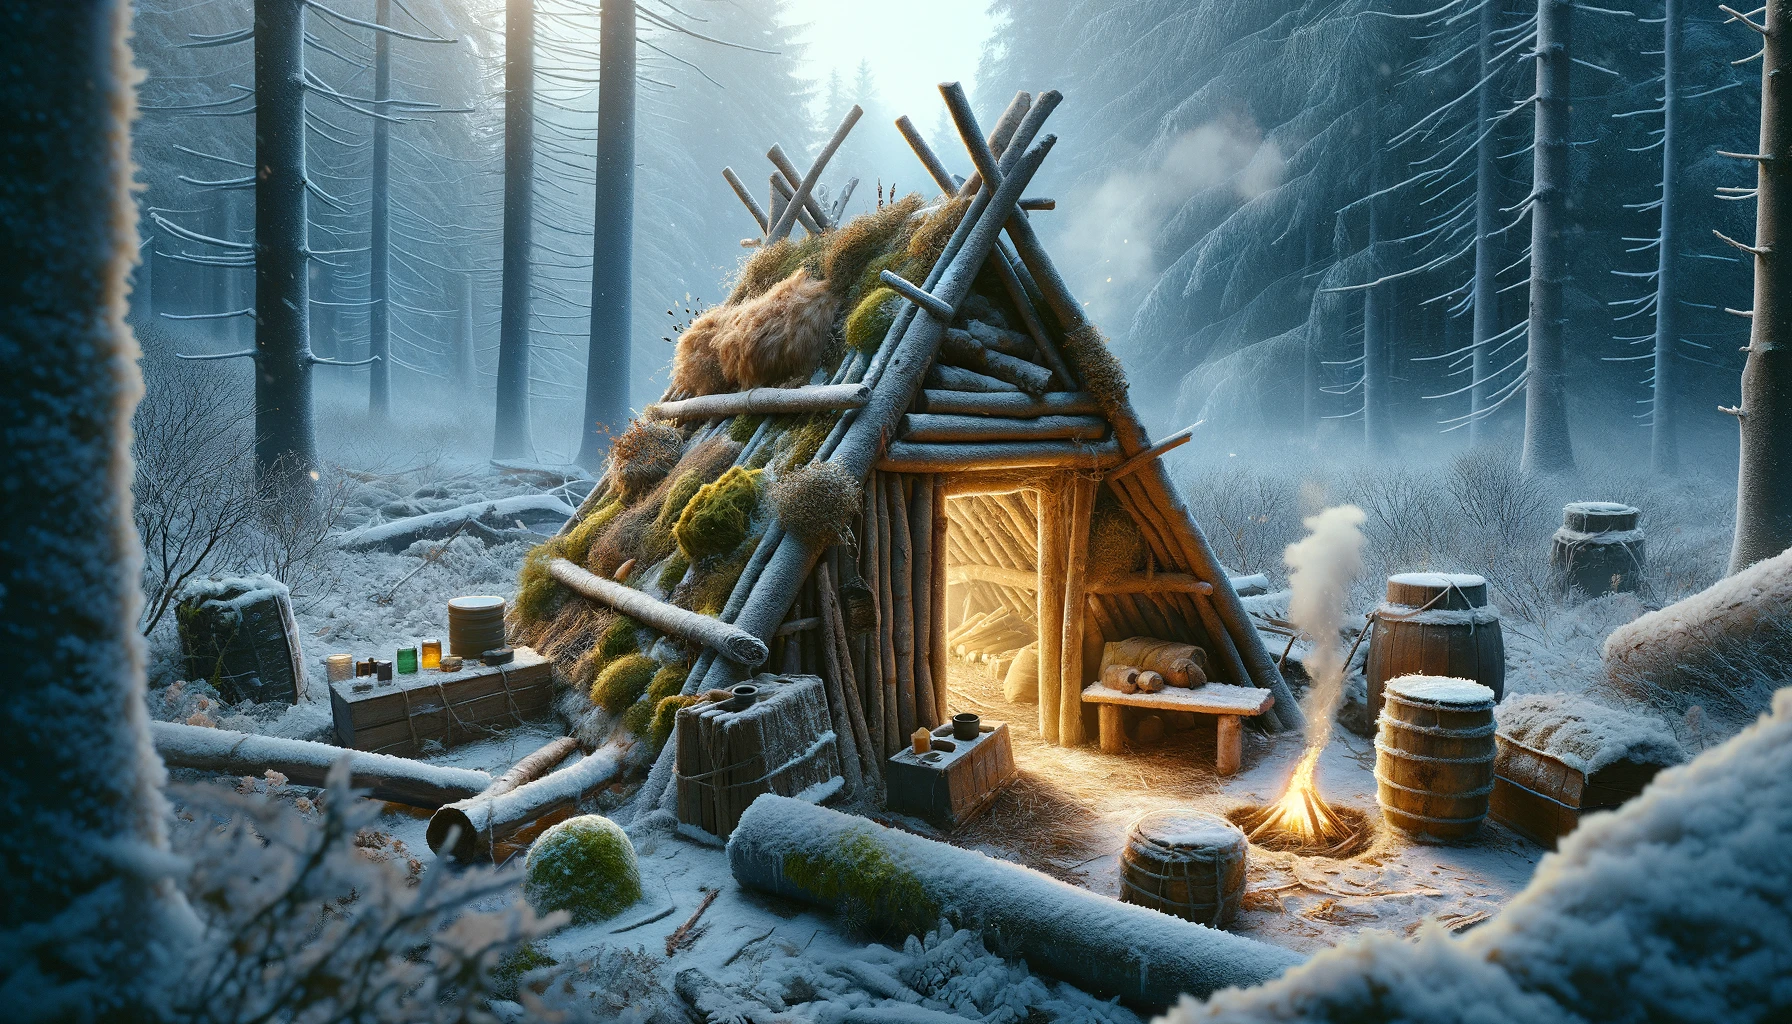
When it comes to survival shelter building, the A-frame design is a classic choice that has stood the test of time.
This type of shelter is one that provides a reliable and sturdy structure, making it suitable for various environments and severe weather conditions.
Unlike other shelter designs, the A-frame offers excellent protection against the elements, especially in winter.
“The A-frame shelter is a testament to human ingenuity in the wild. Its design is both a nod to our past and a blueprint for survival,”
by Elizabeth Nguyen, Architect and Survivalist
The Benefits of the A-Frame Design
One of the primary advantages of an A-frame shelter is its ability to withstand cold weather.
| Shelter Type | Build Time | Weather Resistance |
|---|---|---|
| A-frame | Moderate | Good protection against rain and wind, may require more materials |
| Lean-to | Quick-Moderate | Basic protection against rain and wind, vulnerable to strong winds |
| Tarp | Quick | Immediate protection, lightweight, may not withstand heavy rain or wind |
Because of its shape, it effectively prevents cold wind and cold air from entering the shelter.

In addition, the angled sides of the shelter walls help to deflect rain and snow, providing a dry and warm environment inside.
This design is particularly useful in winter survival situations where exposure to extreme temperatures can be life-threatening.
The Essentials of Insulating Your Survival Shelter
Utilizing Natural Materials for Insulation
Insulating your survival shelter is important regardless of the shelter type or climate you are in.
Proper insulation can make all the difference in staying comfortable and protected.
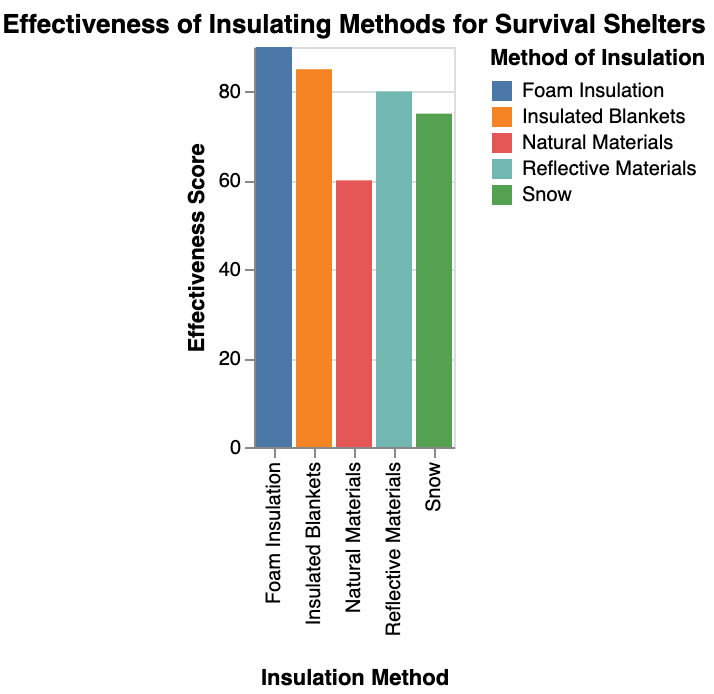
One effective way to insulate your shelter is by utilizing natural materials.
| Insulation Material | Insulation Value (R-Value) | Availability |
|---|---|---|
| Leaves | Low | Abundant in forests, parks, and wooded areas |
| Grass | Low | Common in fields, meadows, and grasslands |
| Ferns | Low | Found in forested areas and shaded environments |
| Moss | Low | Often grows in moist and shaded areas |
| Pine Needles | Low | Common in coniferous forests and pine forests |
| Hay/Straw | Low to Moderate | Available in agricultural areas, farms, and barns |
| Dead Leaves | Low | Easily found in forests and wooded areas |
| Animal Fur/Hair | Moderate | Obtained from shedding animals or grooming |
| Feathers | Moderate | Obtained from birds or bird nests |
| Cotton | Moderate | Harvested from cotton plants |
| Wool | High | Obtained from sheep or other wool-bearing animals |
Adding a layer of 3 feet of vegetation covering to the roof and sides of the shelter can provide excellent insulation against heat and cold.
This can be achieved by gathering leaves, ferns, or branches and piling them onto the floor of your shelter.
Creating a Ventilation System
In addition to insulation, creating a proper ventilation system is essential for a well-insulated shelter.
When constructing your shelter, ensure that you include openings or vents to allow for airflow.

“A well-ventilated shelter is the cornerstone of comfortable survival, balancing the need for warmth with the necessity of fresh air,”
by Derek Wolfe, Survival Instructor
This will prevent condensation and moisture buildup, which can lead to discomfort and potential health risks.
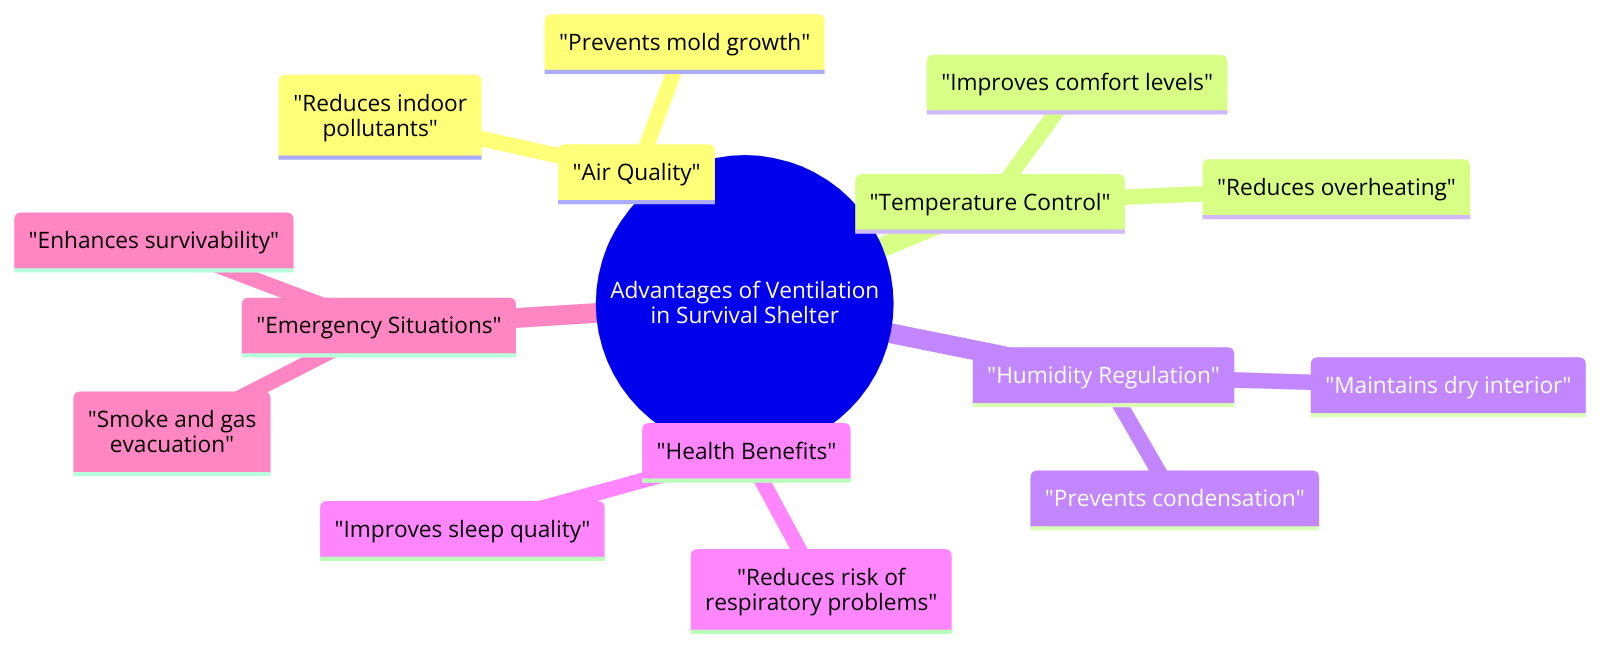
For man-made shelters, you can create vents by leaving gaps between branches or using rocks to prop up one side slightly.
Utilizing Natural Materials for Bushcraft Shelter Construction

Building a shelter in the wilderness requires resourcefulness and a deep understanding of the materials found in nature.
By utilizing natural materials for bushcraft shelter construction, you can create a safe and effective refuge to withstand the elements.
| Natural Material | Durability | Insulation | Waterproofing |
|---|---|---|---|
| Wood | High | Moderate to High | Moderate to High |
| Bamboo | Moderate to High | Low to Moderate | Low to Moderate |
| Grass | Low to Moderate | Low | Low |
| Leaves | Low | Low | Low |
| Mud | High | High | High |
| Rocks | High | Low to Moderate | High |
| Bark | Moderate | Moderate | Moderate |
| Animal Hide | Moderate to High | Moderate | Low to Moderate |
By using the resources readily available in your surroundings, you can craft a shelter large enough to house you and provide a safe haven during emergency survival situations.
The structure of a natural shelter not only provides necessary protection, but also helps to retain body heat, increasing your chances of staying warm throughout the night.
Crafting a Desert Shelter: Surviving the Extreme

Building a Debris Hut for Real Survival
In desert climates with occasional rain, crafting a debris hut can provide you with essential shelter.
Start by leaning larger branches against the ridgepole to form the frame of the shelter.
Then, layer smaller branches and leaves over the frame, making sure to pack them tightly to prevent heat loss.
Finally, cover the entire structure with more leaves and branches, creating a waterproof barrier in case of rain.
“The debris hut stands as a beacon of hope in the desert, proving that even in the harshest environments, we can carve out a place of refuge,”
by Liam Ford, Desert Survival Specialist
Finding the Ideal Location
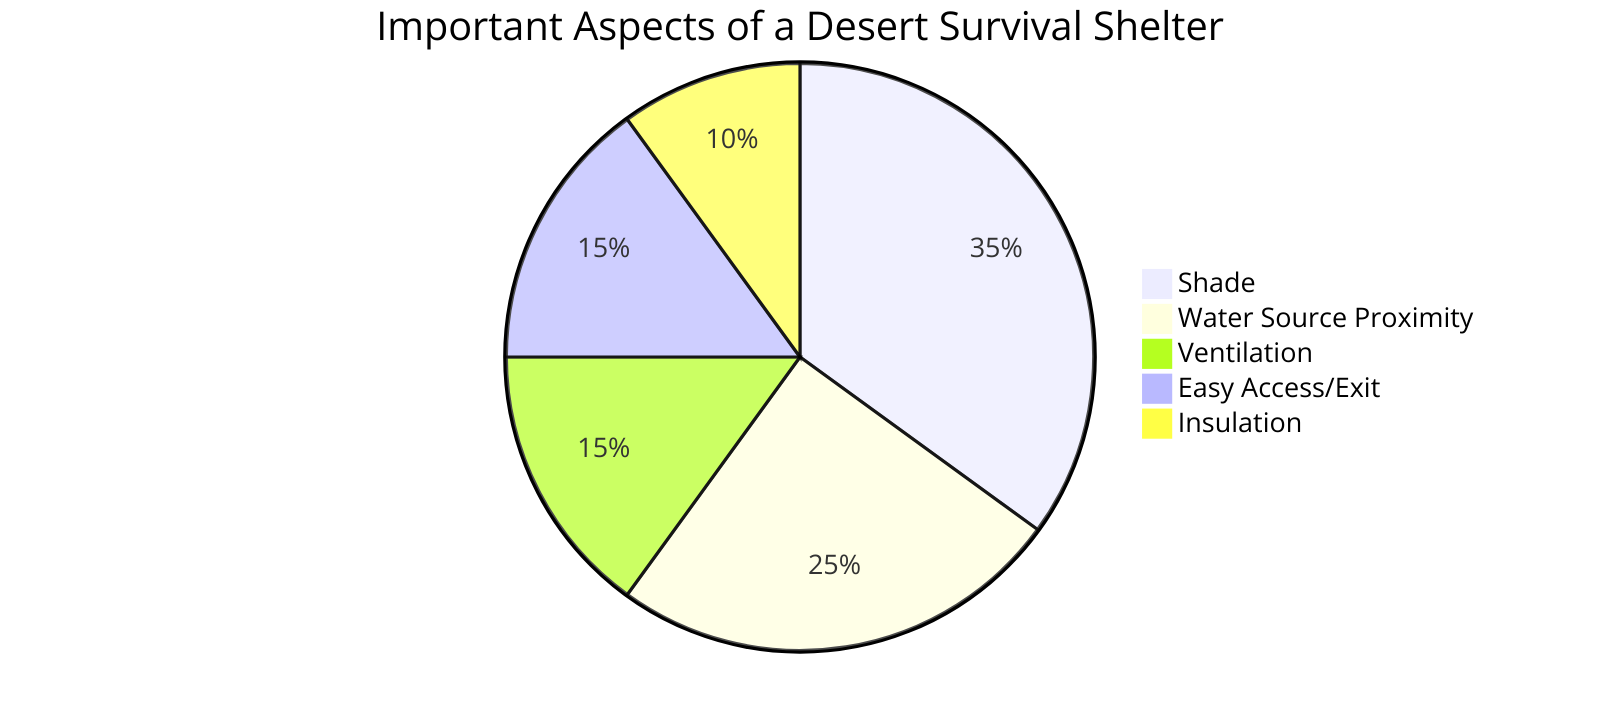
When learning how to build a desert shelter, it’s crucial to choose the right location.
Look for a spot that is elevated and away from potential dangers like flash floods or animal dens.
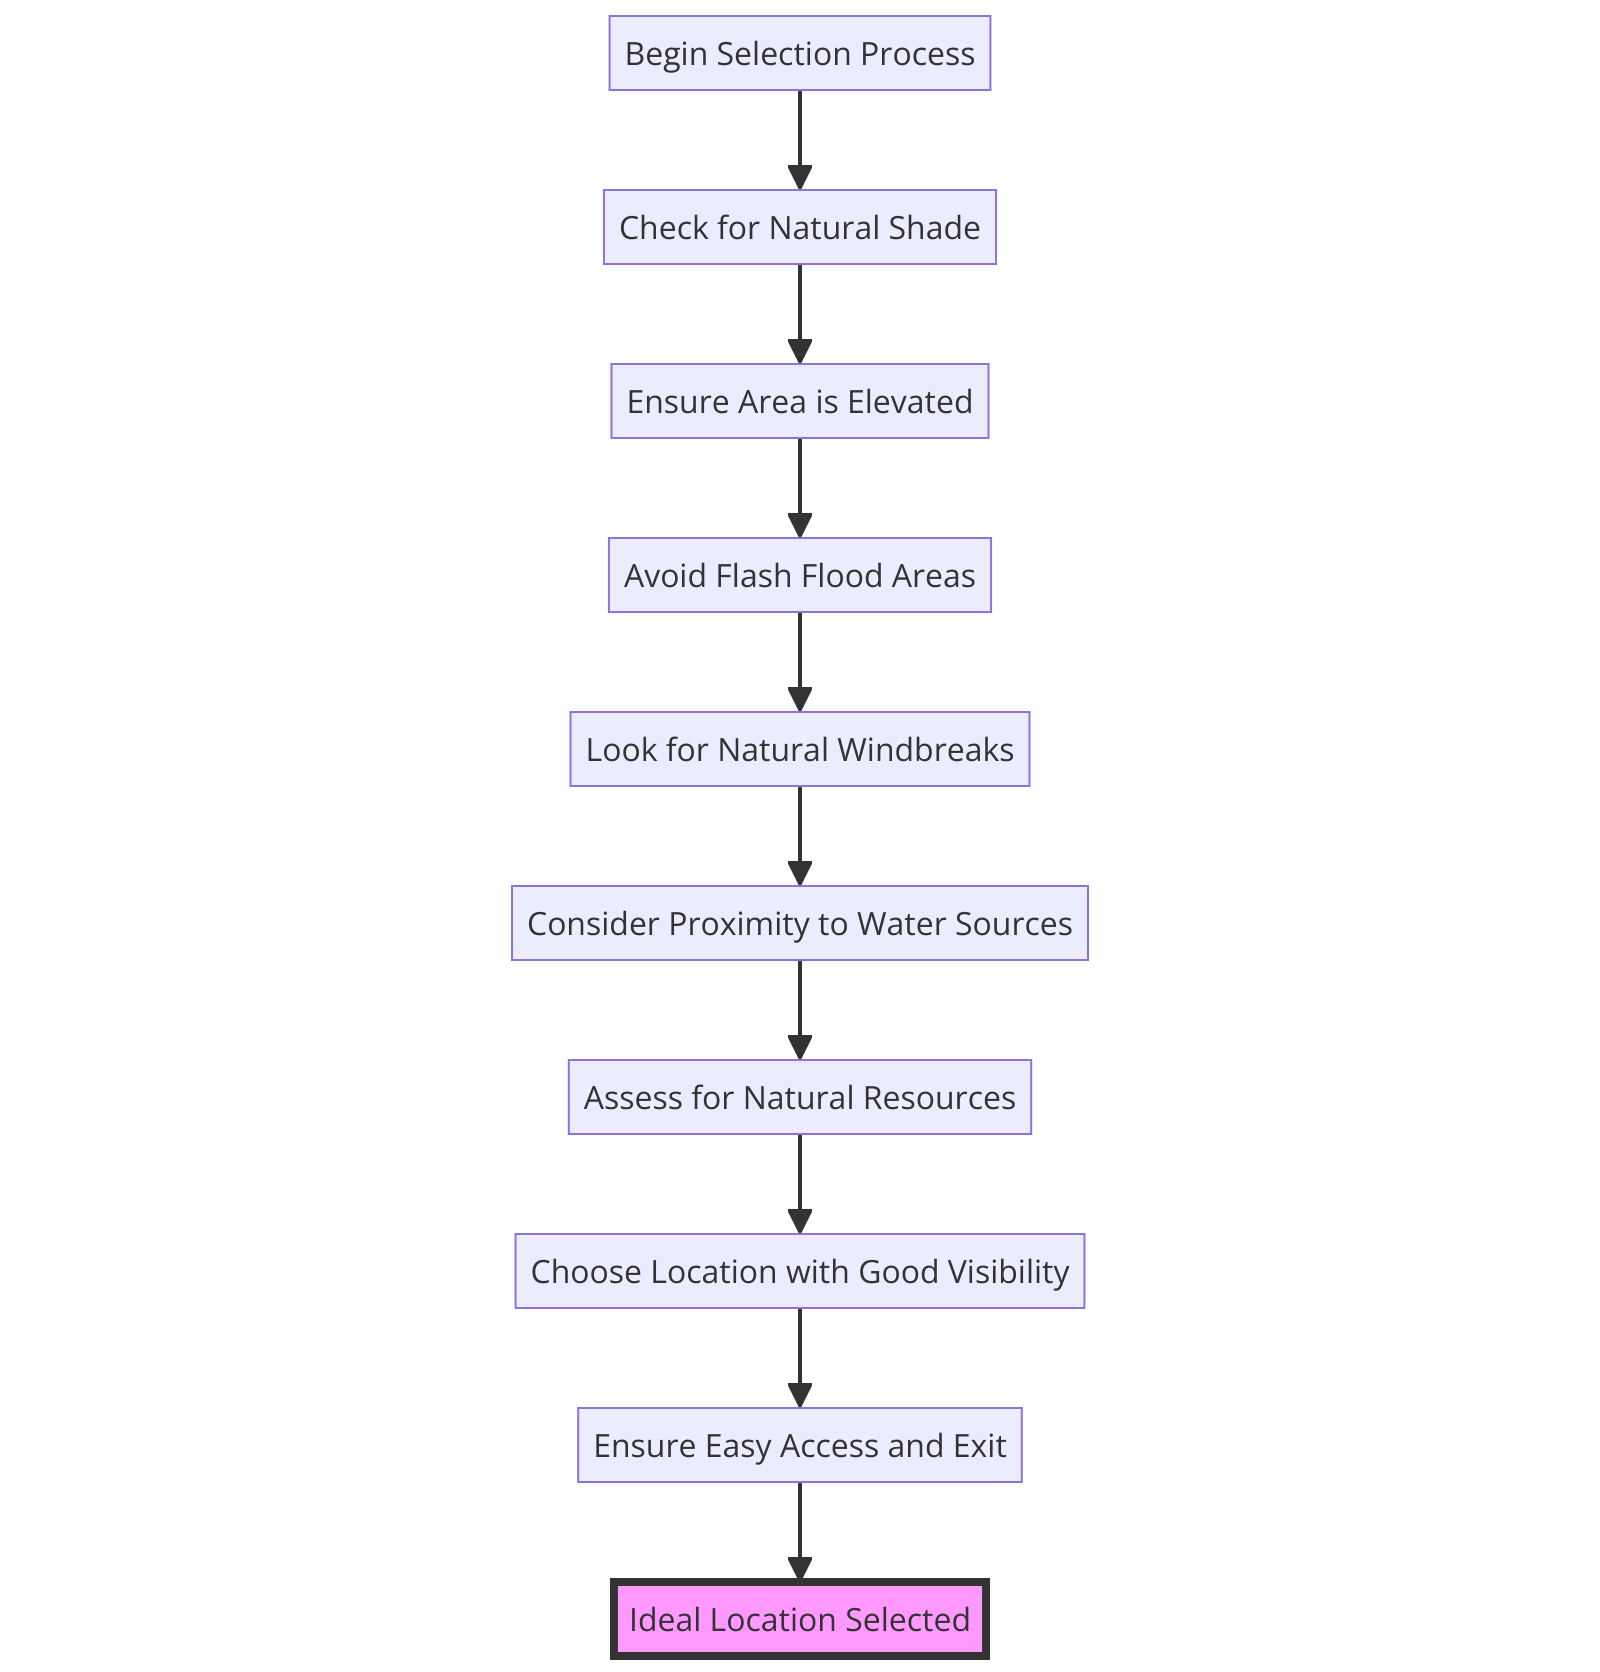
Select a long, sandy area that stretches from east to west, as this will provide protection from strong winds.
| Location | Pros | Cons |
|---|---|---|
| Near Water Source | – Access to water for drinking and other needs | – Increased risk of flooding during flash floods |
| – Potential for finding food sources nearby | – Presence of insects and animals attracted to water sources | |
| – Cooler temperatures near water | – Limited building materials may be available | |
| – Provides opportunities for fishing and hunting | – Higher risk of encountering dangerous wildlife | |
| Elevated Areas | – Reduced risk of flooding | – Limited access to water sources |
| – Better visibility for spotting threats | – Extreme temperatures and exposure to sunlight | |
| – Availability of rocks and stones for building | – Strong winds may affect stability of shelters | |
| – Potential for finding natural caves or rock shelters | – Limited vegetation for food and shade |
By carefully scouting the area and constructing your shelter near resources such as water and food, you can increase your chances of survival in the harsh desert environment.
FAQ:
What is a bushcraft survival shelter?
A bushcraft survival shelter is a type of shelter that is built using natural materials found in the wilderness to provide protection from the elements in a survival situation.
How do you build a survival shelter without any tools?
A snow shelter is a type of shelter built using compacted snow to provide insulation from the cold. You can build a snow shelter by digging out a space in the snow and creating a small enclosed area to sleep in.
What are some common wilderness survival shelter options?
Some common wilderness survival shelter options include debris shelters like an a-frame debris shelter or a tarp shelter, as well as natural shelters made from branches and leaves.
How can you make a shelter in wet weather?
In wet weather, it’s important to use materials that shed water and create a roof that can make the shelter waterproof. Pay attention to the natural slope of the land when building your shelter.
Why are frequently constructed primitive shelters preferred in survival training?
Frequently constructed primitive shelters are preferred in survival training because they are simple to build, require minimal tools, and provide effective protection from the elements when constructed properly.
What are the benefits of an a-frame debris shelter in a survival situation?
An a-frame debris shelter is a sturdy shelter design that offers good protection from wind and rain. The debris used in the shelter construction provides insulation, helping to keep you warm inside.
More Resources:
- Outdoor Life: A leading source for outdoor gear reviews, how-to articles, and adventure stories, likely offering insights on survival shelters. Visit Outdoor Life
- Primal Survivor: Offers practical advice and tips on survival, preparedness, and outdoor skills, including building shelters. Explore Primal Survivor
- Survival World: Provides information on survival skills, including shelter building, for various environments. Discover Survival World
- Grit: Focuses on rural American know-how, including DIY projects and survival skills. Learn more at Grit
- Survival Cache: A comprehensive resource on survival strategies, gear reviews, and how-to guides, likely covering survival shelters. Find out more on Survival Cache