Imagine unlocking the secret to keeping your food fresh five times longer, savoring every bite as if it was made moments ago.
Vacuum sealing is not just a method; it’s a lifestyle change that brings you closer to the essence of freshness, flavor, and efficiency in your kitchen.
Table of Contents
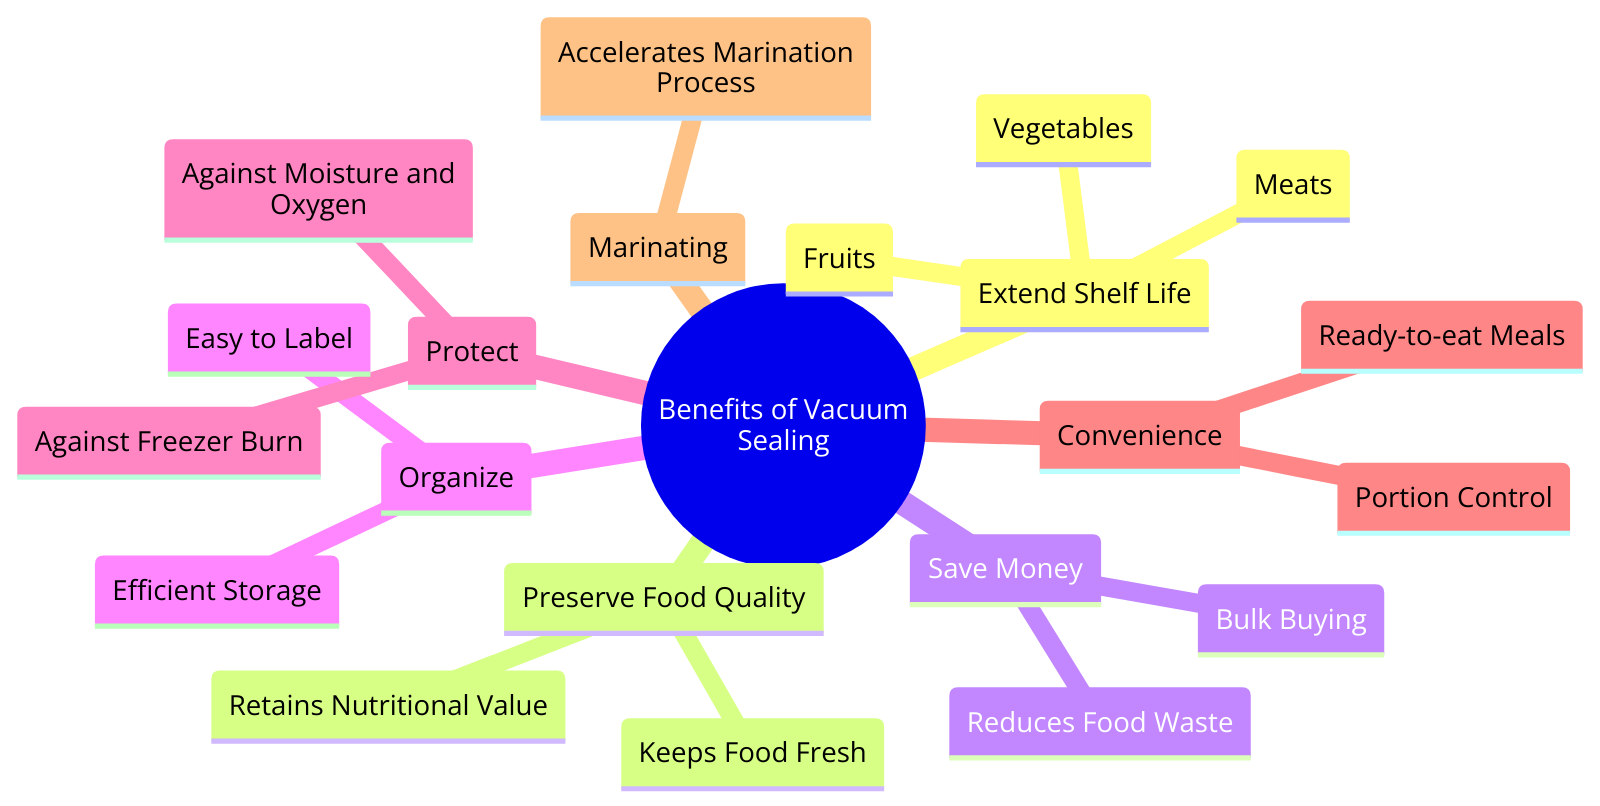
Benefits of Vacuum Sealing Food: Extend Shelf Life and Reduce Waste
Maximizing Freshness With Vacuum Sealing
When I vacuum seal my food using a vacuum sealer, it’s like locking in freshness.
The airtight seal prevents oxygen from spoiling my food, extending its shelf life significantly.
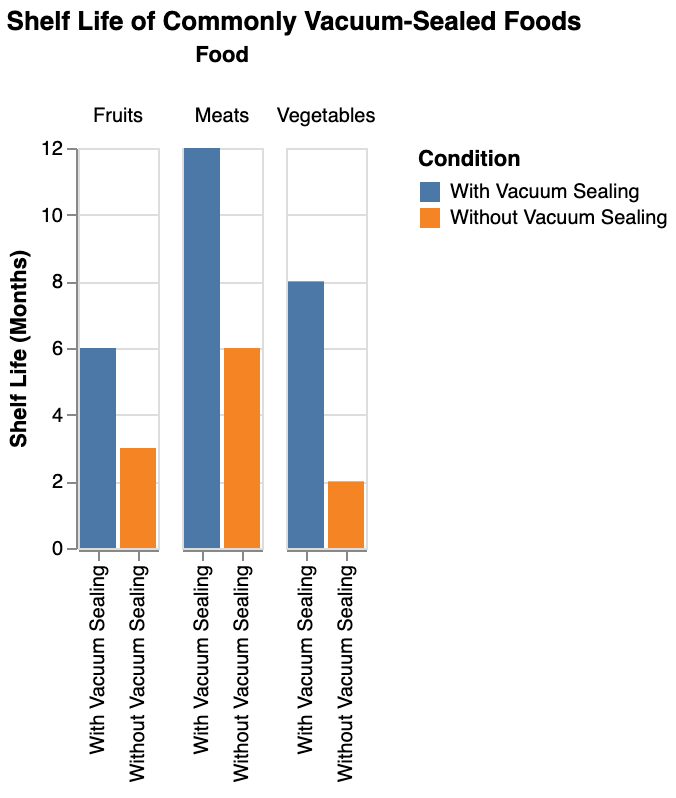
Not only does this help me save money by reducing food waste, but it also ensures that I always have fresh ingredients on hand when I need them.
- Use a vacuum sealer to seal food like a pro
- Prevent freezer burn by properly vacuum sealing liquids and solids
- Invest in quality vacuum seal bags to preserve a wide variety of food items
| Before Vacuum Sealer (%) | After Vacuum Sealer (%) | Reduction in Food Waste (%) | |
|---|---|---|---|
| Overall | 30 | 10 | 66.7 |
| Fruits and Vegetables | 40 | 15 | 62.5 |
| Meats and Dairy | 25 | 8 | 68.0 |
| Leftovers and Prepared Meals | 35 | 12 | 65.7 |
Enhancing Food Preservation Techniques
Vacuum sealing isn’t just about extending shelf life; it’s about preserving the quality of my food.
By vacuum sealing liquids and solids, I can keep flavors intact and prevent any loss of nutrients due to improper storage methods.
With the help of a reliable foodsaver and the right vacuum sealer accessories, I can take control of my kitchen and say goodbye to unnecessary food spoilage.
How to Use a Vacuum Sealer: Tips for First-Timers

Getting Started with Your Vacuum Sealer
When you embark on your vacuum sealing journey, remember that this handy tool is designed to extend the shelf life of your food and reduce waste.
To get going, start by familiarizing yourself with the process of using a vacuum sealer.
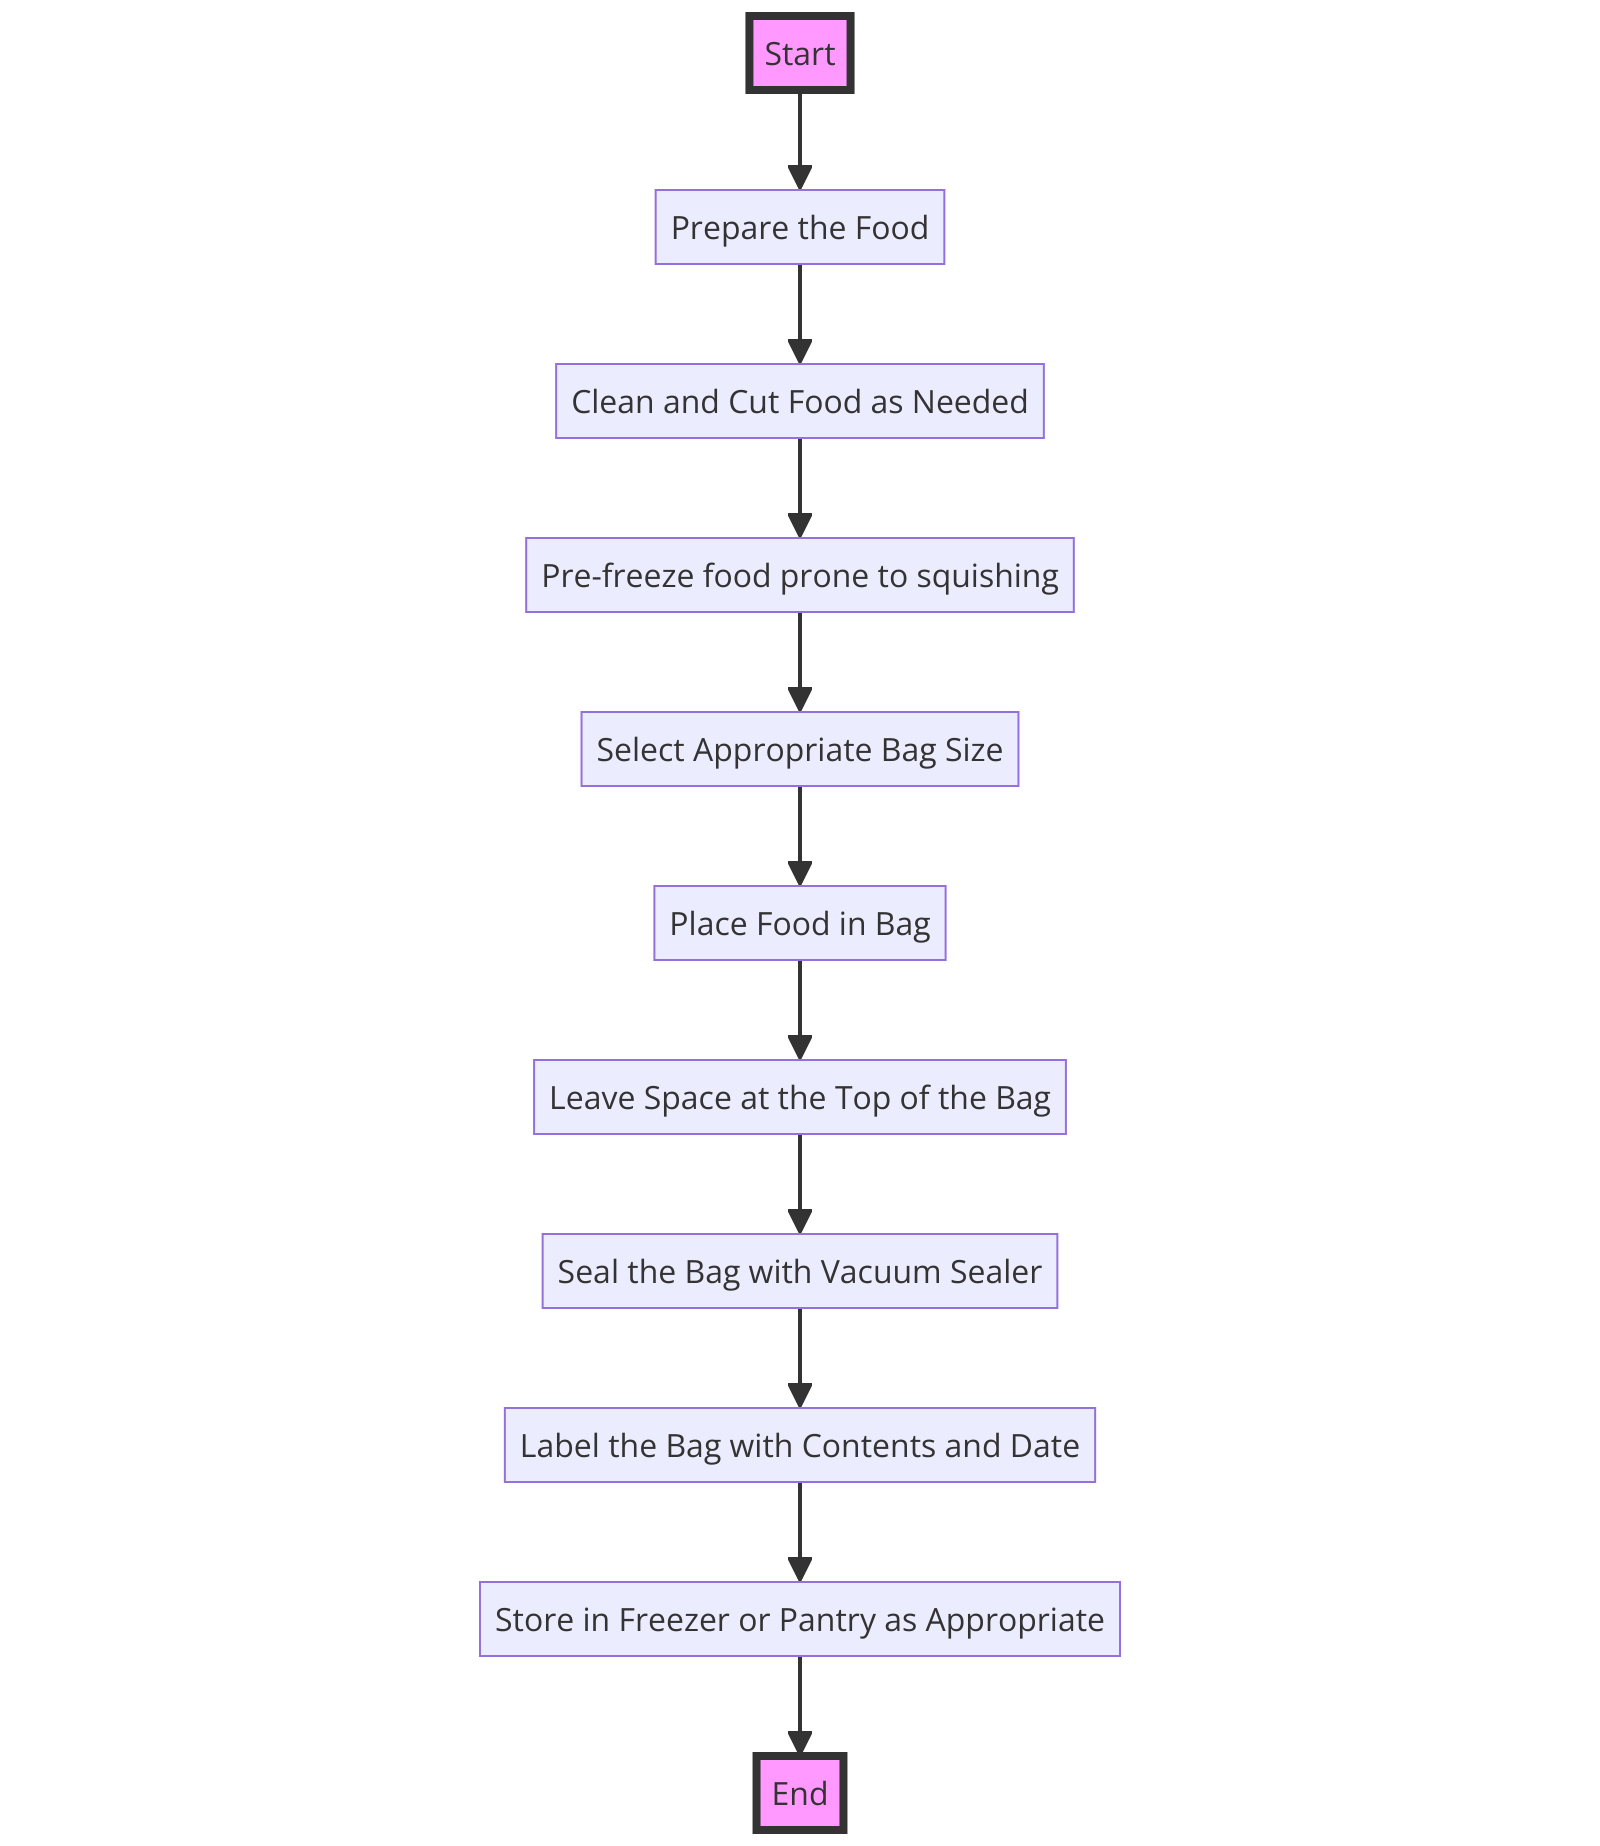
Ensure the food you plan to seal is dry to achieve the best results.
Sealing liquids like soups can be tricky; to tackle this, try pre-freezing them before vacuum sealing to prevent any unwanted leaks.
For marinate, using a vacuum-sealed bag can enhance the flavor infusion, giving your dishes that extra oomph.
Mastering the Airtight Seal
When using your vacuum sealer, always ensure you achieve a tight and airtight seal to prevent freezer burn and maintain the freshness of your food.
To seal foods like broccoli, remember to blanch them beforehand to lock in their color and nutrients.
Properly blanching before vacuum sealing is a game-changer as it helps you keep food in pristine condition for a longer period.
| Do’s | Don’ts |
|---|---|
| Use dry foods for sealing | Avoid sealing moist/wet foods |
| Flatten the bag when sealing | Don’t allow wrinkles or overfill bags |
| Test seal after sealing | Skip seal testing |
| Store sealed bags properly | Store in extreme temps/humidity |
Sealing Liquids vs. Solid Foods: Best Practices with a Vacuum Sealer
How to Deal with Liquids:
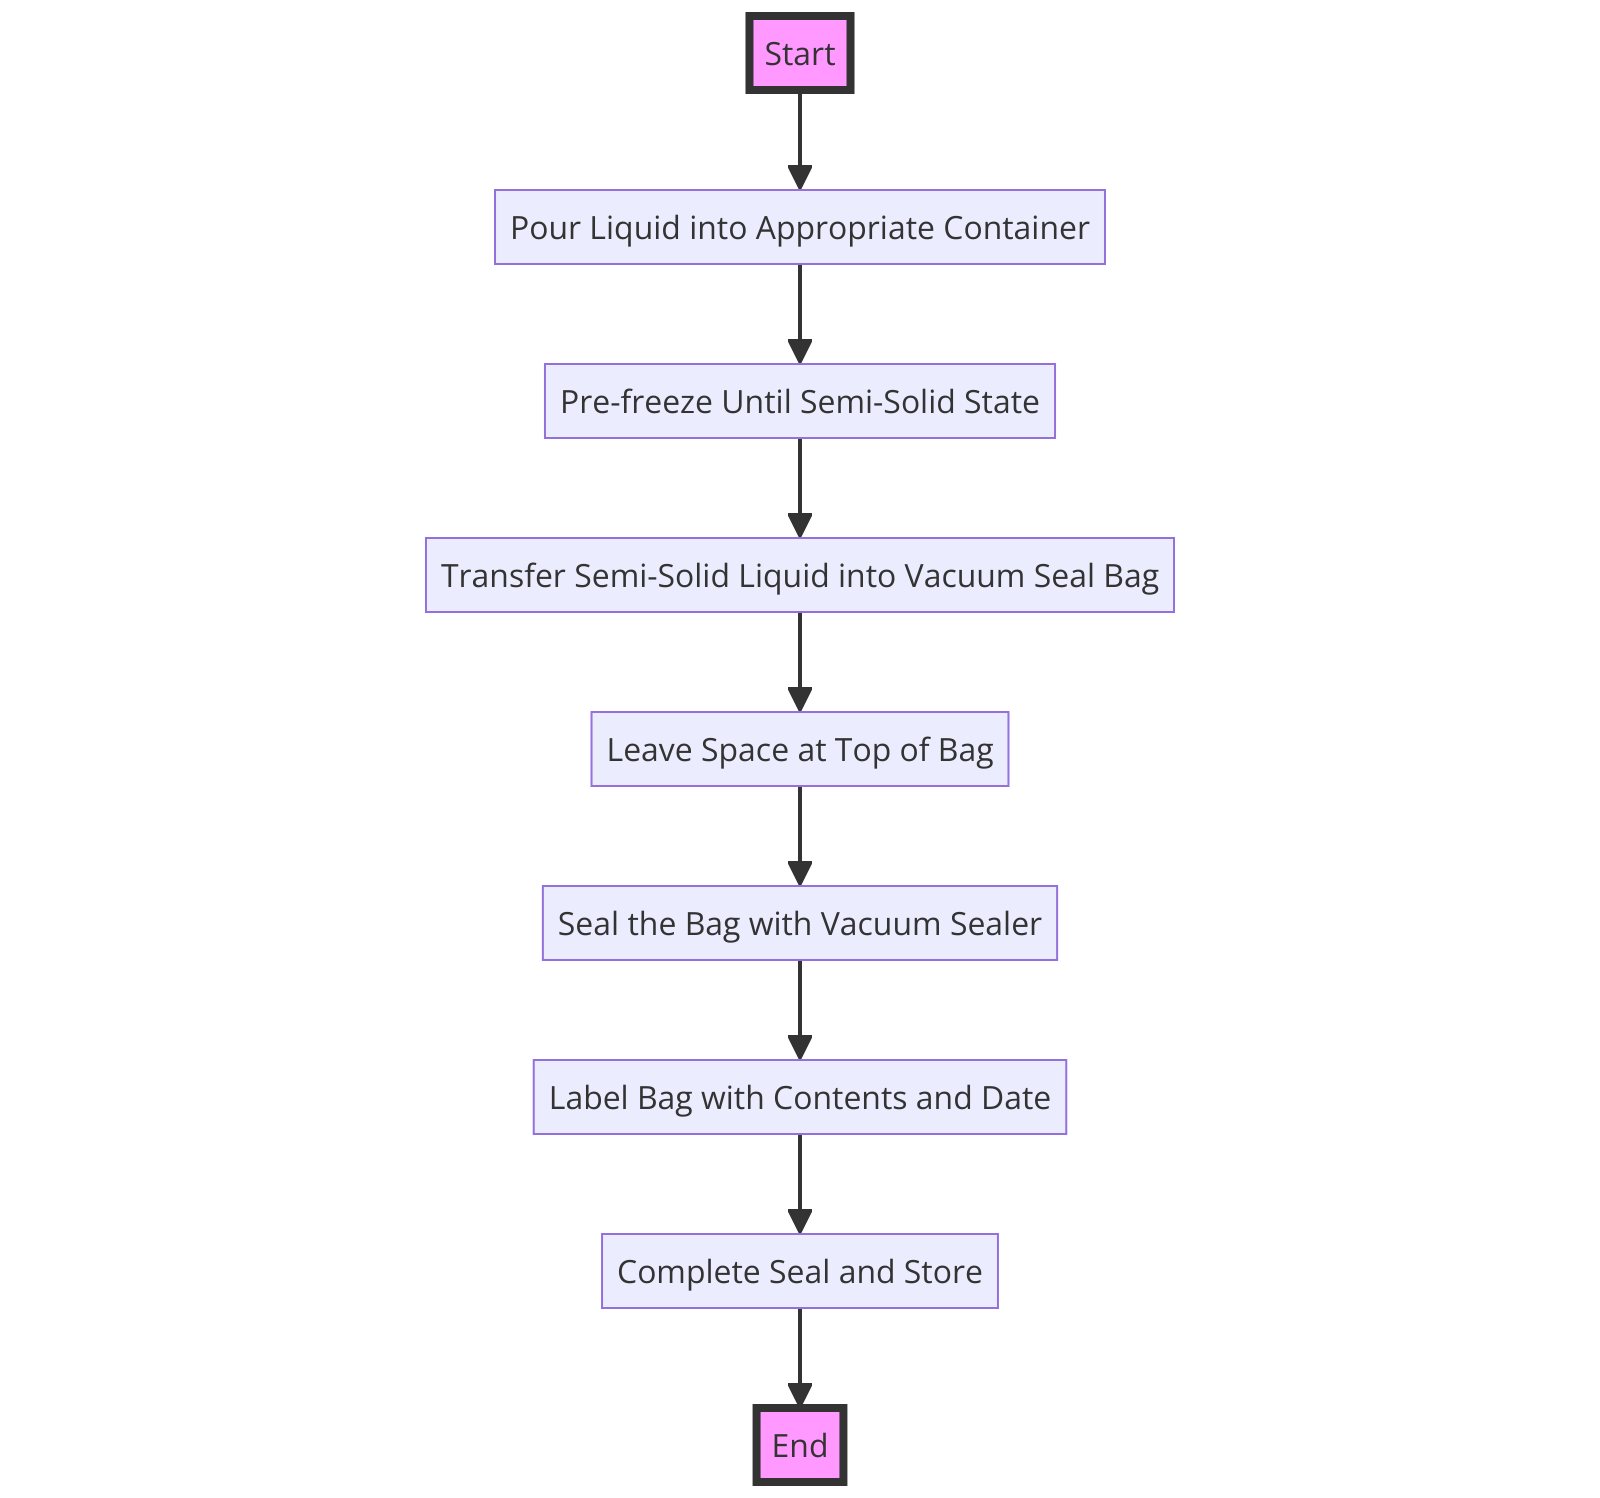
When sealing liquids like sauces or marinades, using a vacuum sealer can be tricky due to the potential for spillage.
To prevent this, I’d recommend a few tips:
- Freeze the liquid before vacuum-sealing it to avoid spills and mess.
- For more delicate liquids, such as broths or soups, partially seal them first and then finish the vacuum-sealing process. This prevents suction from pulling the liquid into the machine.
Best Practices for Solid Foods:
When it comes to sealing solid foods like cauliflower or meats in vacuum sealer bags, there are some key points to keep in mind:
- Avoid sharp corners when sealing solid items to prevent punctures in the plastic bags.
- For items with sharp edges, consider placing a soft layer of paper towel between the food and the edge of the bag to prevent tearing.
| Technique | Handling Sharp Edges/Irregular Shapes | Effectiveness |
|---|---|---|
| Protective Barrier (e.g., paper towel, parchment paper) | Provides cushioning to protect bag from punctures | Effective for items with sharp edges or protrusions |
| Pre-freezing | Hardens food for easier sealing | Preserves texture, may reduce risk of punctures |
| Double Bagging | Adds an extra layer of protection | Effective for sharp or irregular items, but increases cost |
Vacuum Sealer Accessories: Enhancing Your Food Preservation Process
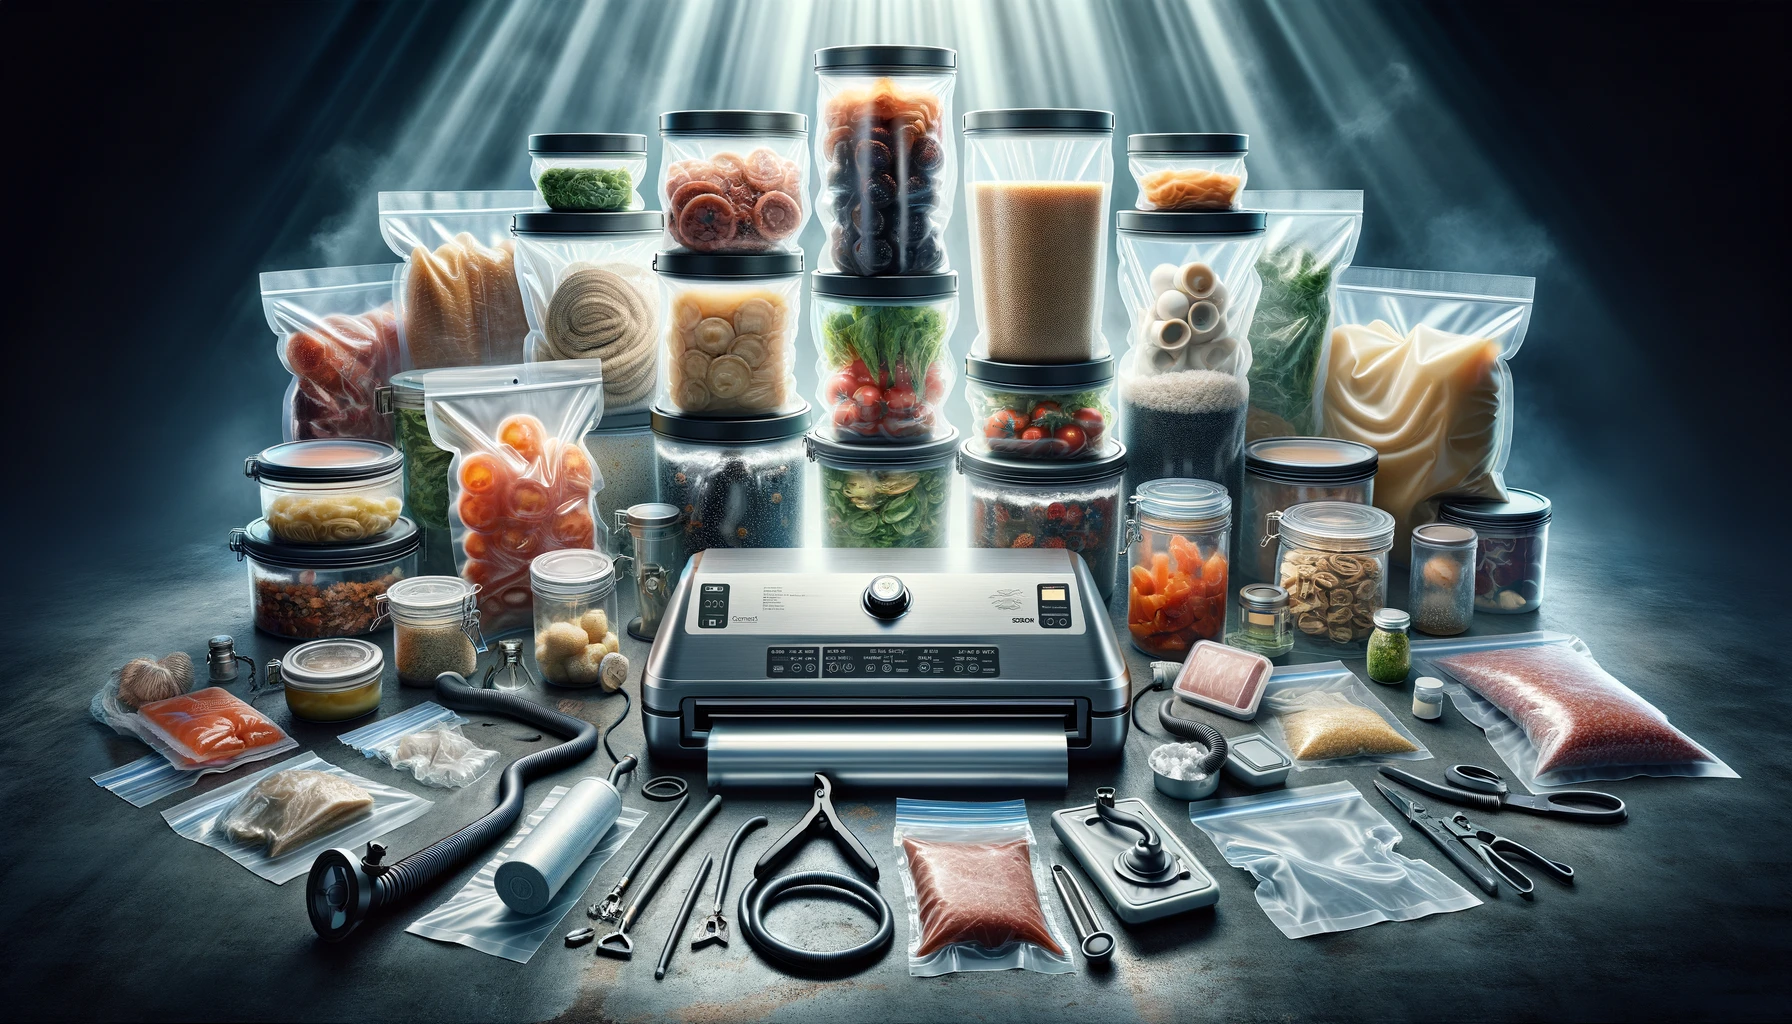
Custom-Sized Vacuum Bags and Rolls
When it comes to vacuum food storage, having the right accessories can make all the difference.
Custom-sized vacuum bags and rolls are ideal for sealing food in bulk or in portions.
| Brand | Size (Inches) | Specific Uses | Durability | Cost-effectiveness |
|---|---|---|---|---|
| FoodSaver | 8″ x 10′, 11″ x 16′ | Meats, vegetables, leftovers | Medium | Moderate |
| Nutri-Lock | 8″ x 12′, 11″ x 25′ | Bulk storage, sous vide | High | Affordable |
| GERYON | 8″ x 16′, 11″ x 25′ | Sous vide, marinating | Medium | Budget-friendly |
| Vacuum Sealer Pro | 6″ x 10′, 8″ x 12′ | Snacks, small portions | Low | Very affordable |
With these accessories, you can keep food fresh up to 5x longer than traditional storage methods.
Sealing Liquids and Solid Foods Efficiently
To further enhance your vacuum sealer accessories, consider accessories that cater to different sealing needs.
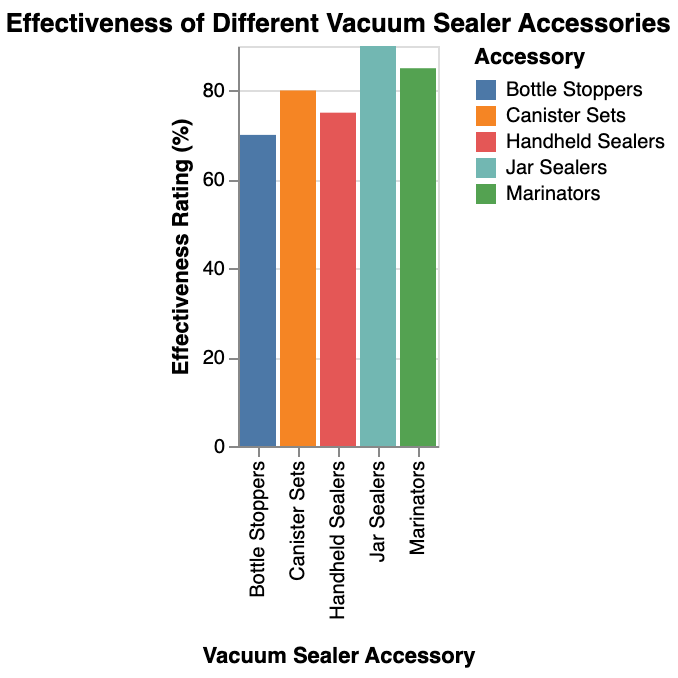
Some models come with attachments that allow you to seal liquids without spillage, making them ideal for sealing soups, marinades, or sauces.
These innovative tools not only help in preserving the freshness of your liquids but also enable you to seal a variety of food items for various cooking methods, such as cooking sous vide.
Foods to Vacuum Seal: Maximizing Freshness Across Food Items
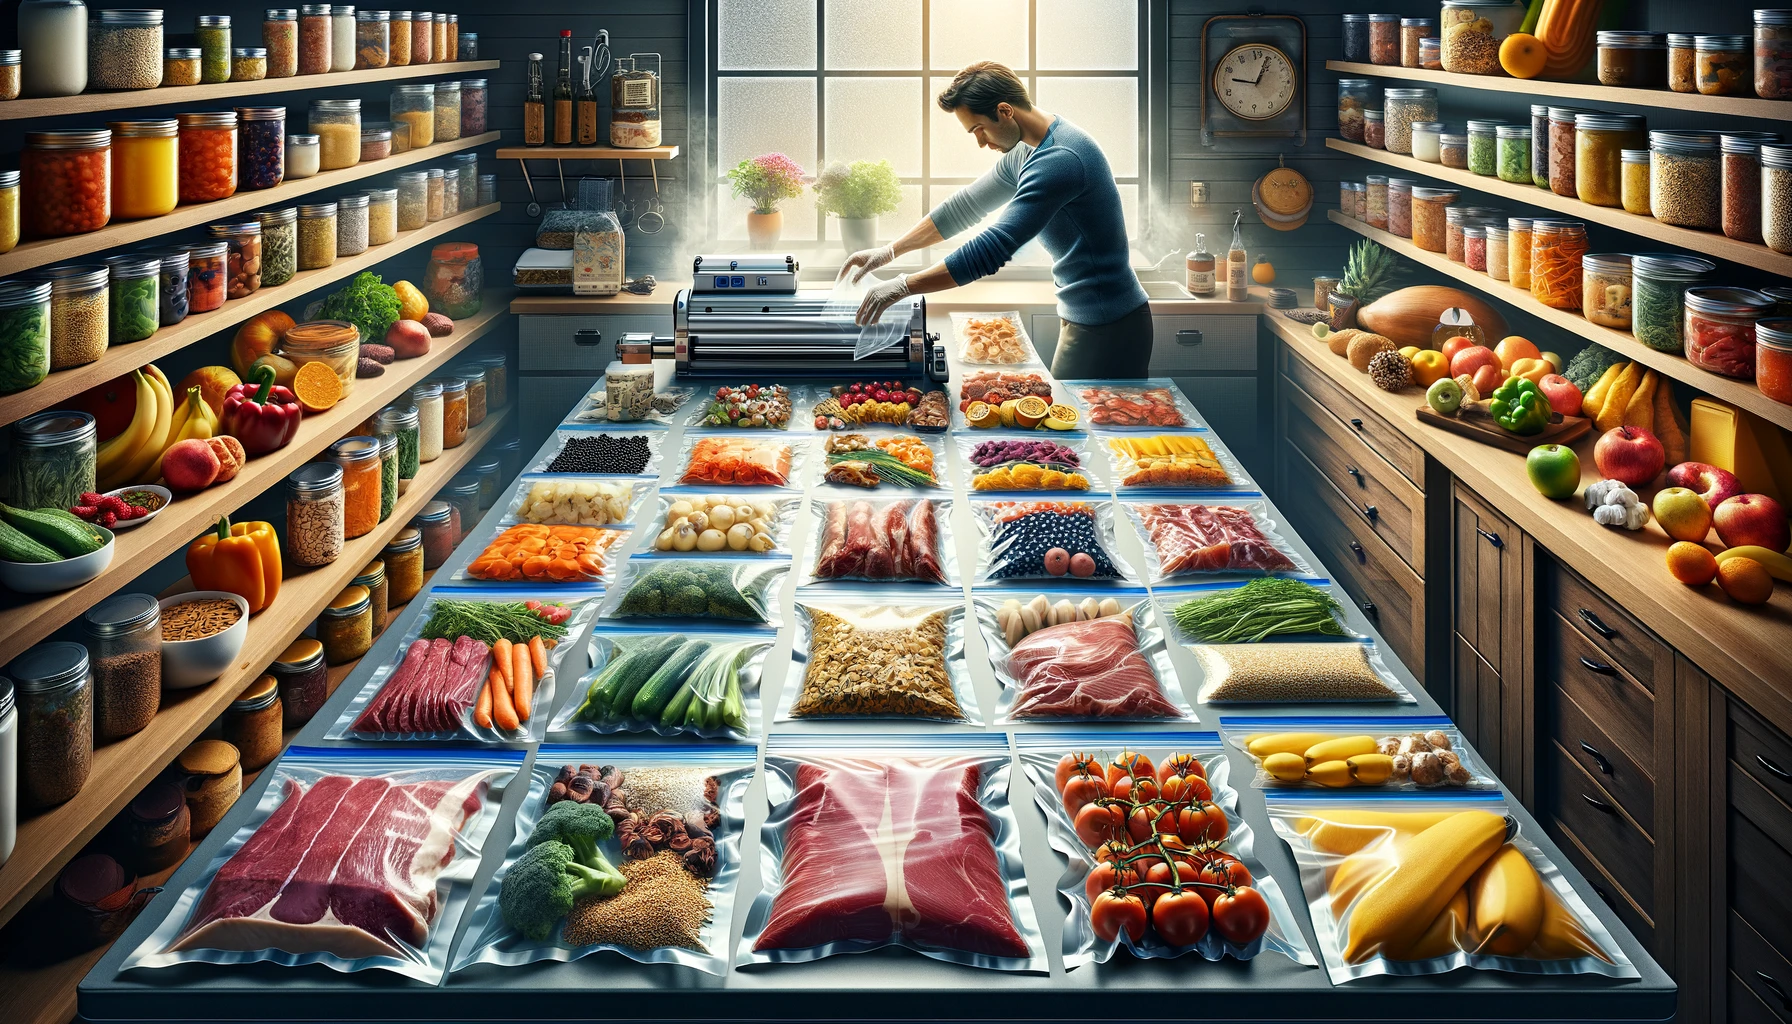
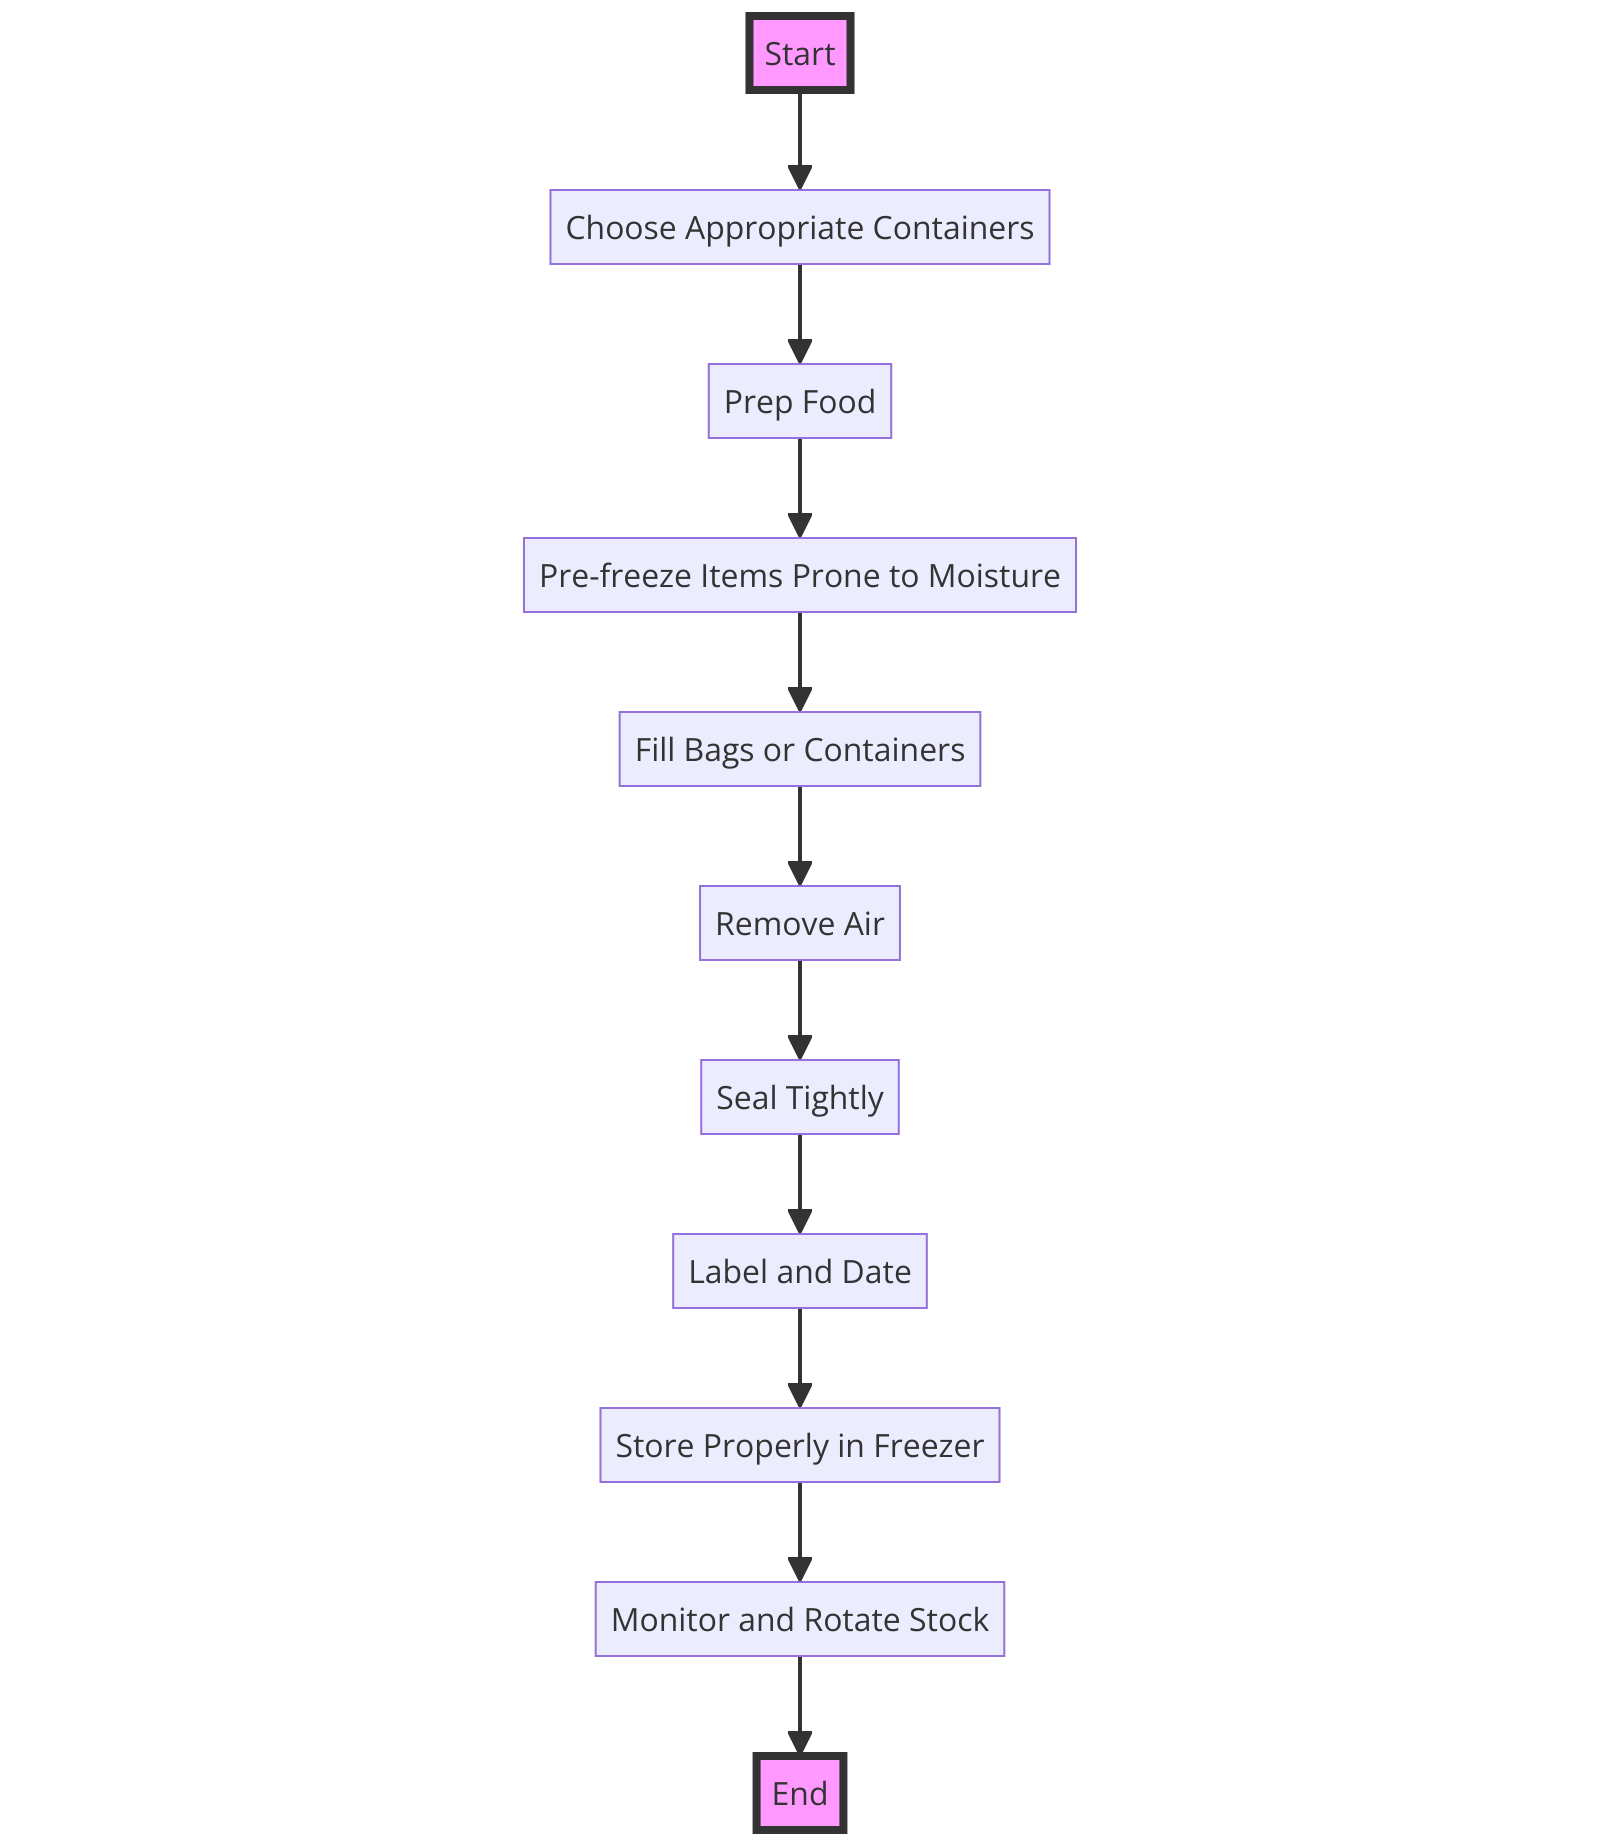
Best Practices for Vacuum Sealing
When it comes to maximizing freshness across food items, sealing them using a vacuum and seal machine is a game-changer.
For foods like brussels sprouts or foods with sharp edges that could puncture the bag, a chamber machine might be the way to go.
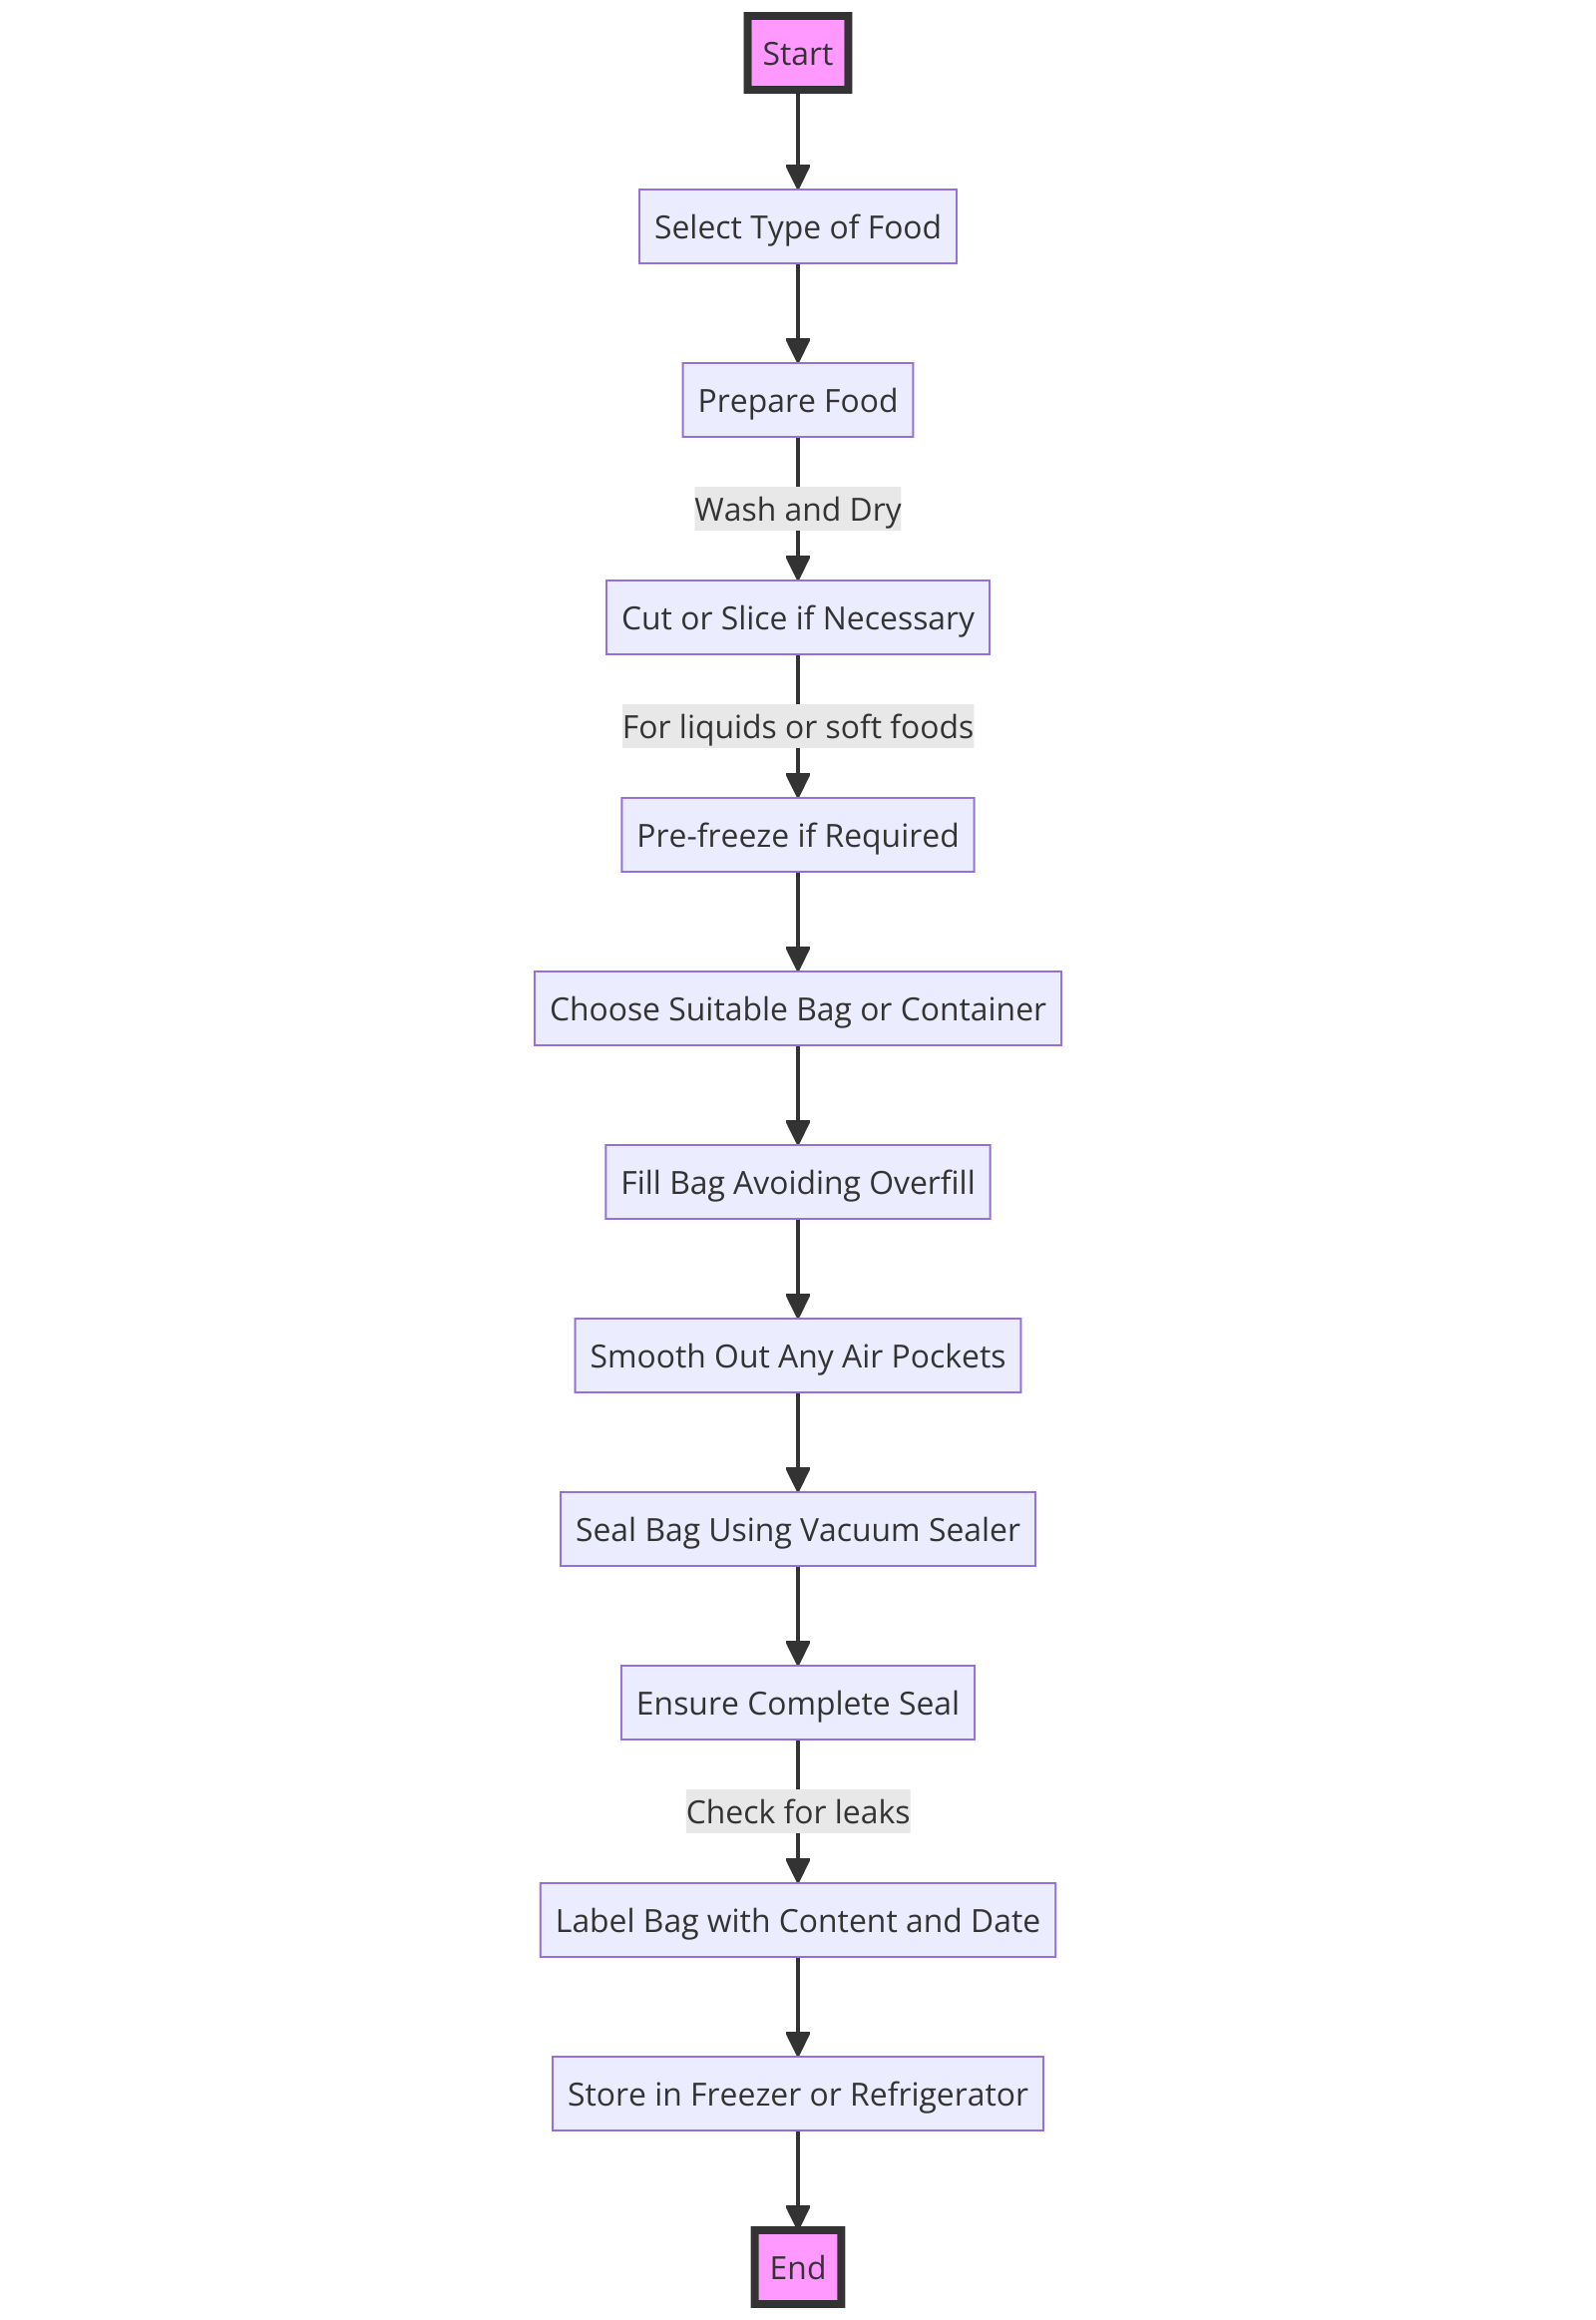
Here’s how I do it:
- Prep food: Place the food inside the bag, making sure there’s no moisture around the seal area.
- Open end of the bag: Carefully align the open end of the bag and place it into the sealing machine.
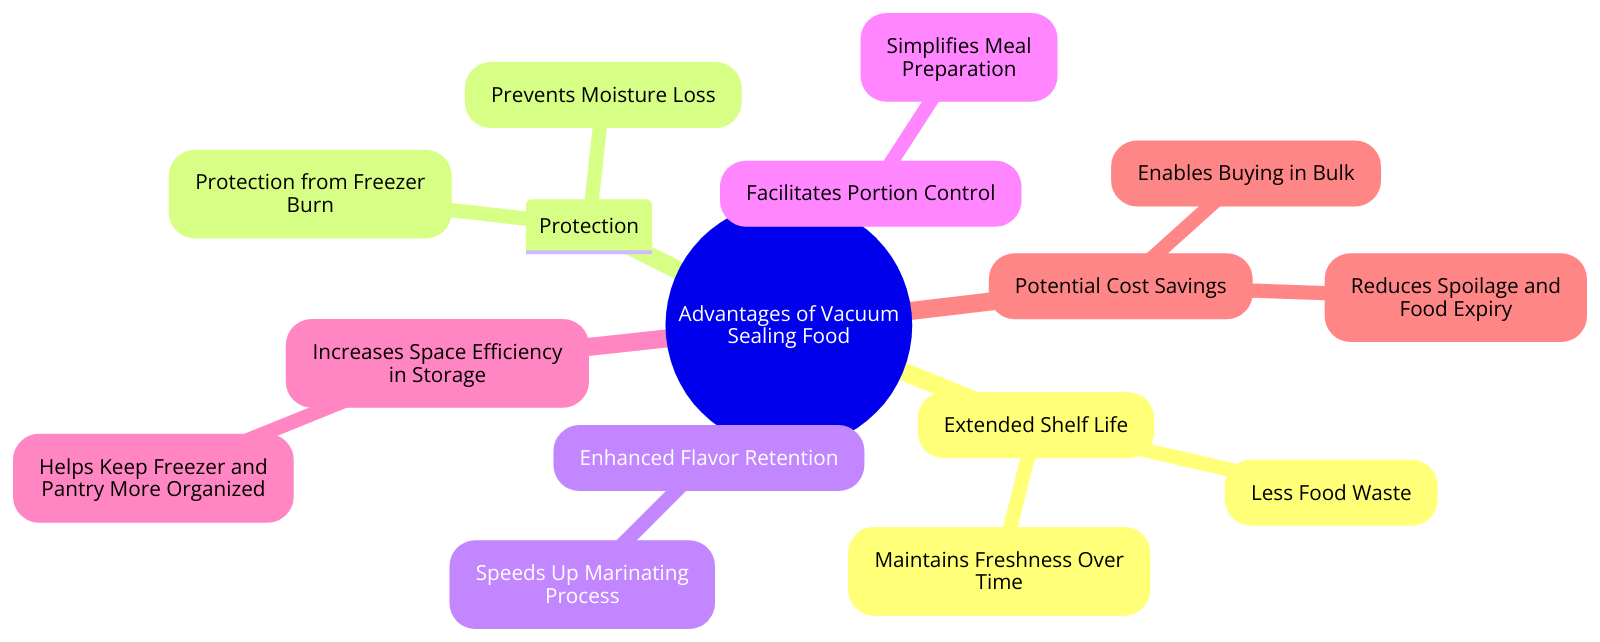
Benefits of Vacuum Sealing
Vacuum sealing is my go-to technique as a home cook to preserve foods I buy in bulk or when I meal prep for the week.
It helps prevent freezer burn while extending the shelf life of the items.
Whether you’re storing fresh produce or leftovers, vacuum sealing offers a reliable way to keep your food fresh longer.
| Average Monthly Grocery Expenses ($) | Total Annual Grocery Expenses ($) | Annual Savings with Vacuum Sealing ($) | |
|---|---|---|---|
| Without Vacuum Sealing | 500 | 6000 | – |
| With Vacuum Sealing | 450 | 5400 | 600 |
Overcoming Freezer Burn: Vacuum Sealing for Superior Food Quality
Don’t Let Freezer Burn Ruin Your Food
When it comes to keeping my frozen foods fresh, I swear by vacuum sealing.
Freezer burn is the bane of any cook’s existence, causing that unappetizing taste and texture changes in foods like meats and delicate cheeses like soft brie.
To combat this, I always make sure to remove as much air from the bag as possible before sealing it shut.
Investing in specialty bags or rolls designed for vacuum sealing can truly make a difference in how long your food stays food safe in the freezer.

My Tips for Optimal Food Storage
When I’m dealing with dry goods like flour and sugar, I find that vacuum sealing them at the top of the bag helps prevent spills and keeps them as fresh as possible.
Additionally, it’s crucial to properly seal the bag to keep as much air out of the bag as you can.
If you have foods with sharp edges that could puncture the bag, consider layering a protective sheet between the food and the bag to maintain the seal.
| Dos | Don’ts |
|---|---|
| Use dry goods | Overfill bags |
| Pre-freeze delicate items | Seal moist or wet foods |
| Use protective barriers | Skip seal testing |
| Monitor sealing process | Seal delicate items without adjustments |
| Store in a cool, dry place | Store in extreme conditions |
For longer-lasting freshness, freeze your vacuum-sealed items as soon as you can to lock in their peak flavor.
Blanching Techniques Before Vacuum Sealing: Preserving Color and Nutrients

Why Blanching Is Essential
Before vacuum sealing your food items, it’s crucial to blanch them.
Blanching involves quickly boiling then plunging the items into ice water to stop the cooking process.

This step helps in preserving the vibrant colors and nutrients of your food by removing all the air around them.
By creating an airtight environment in the vacuum-sealed bag, your food stays fresh up to 5x longer.
Best Practices for Blanching
Blanching is particularly beneficial for foods like soups and sauces.
Products that go through this process retain their flavors better and stay free from any harmful bacteria growth.
When air is removed during vacuum sealing after blanching, your food items are easier to share and can be stored without the risk of freezer burn.
| Vegetable/Fruit | Blanching Time (minutes) |
|---|---|
| Asparagus | 2-4 |
| Broccoli | 3 |
| Brussels sprouts | 3-5 |
| Carrots | 2-5 |
| Cauliflower | 3 |
| Corn (on the cob) | 4-6 |
| Green beans | 3 |
| Peas | 1.5-2 |
| Spinach | 1.5-2 |
| Bell peppers | 2-3 |
| Zucchini | 3 |
| Apples | 3-4 |
| Peaches | 1.5-2 |
| Pears | 2-3 |
| Strawberries | 1-2 |
| Blueberries | 1.5-2 |
| Grapes | 1-2 |
Remember to prep your items, blanch accordingly, and then use your vacuum sealer’s button to begin preserving them for long-term storage.
More Resources:
- OutOfAir provides a comprehensive guide on the benefits of vacuum sealing, emphasizing time-saving, cost efficiency, and food security aspects.
- Anova Culinary offers insights into the science behind vacuum sealing, its benefits, and different types of vacuum sealers to cater to various needs.
- University of Minnesota Extension shares safety tips and best practices for vacuum sealing food at home.
- Provac delves into the history, scientific principles, and practical benefits of vacuum packing for food preservation.
- National Center for Home Food Preservation is an essential resource for safe food preservation techniques, including vacuum sealing.